Best Tools for Painting Walls: What You Actually Need
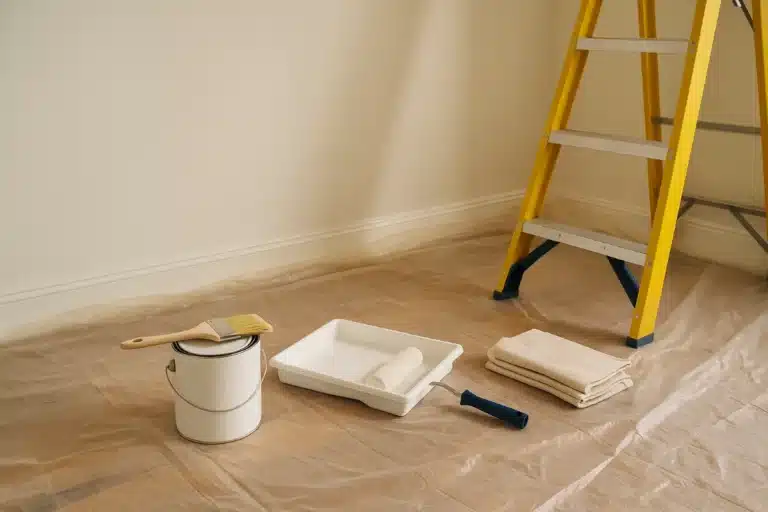
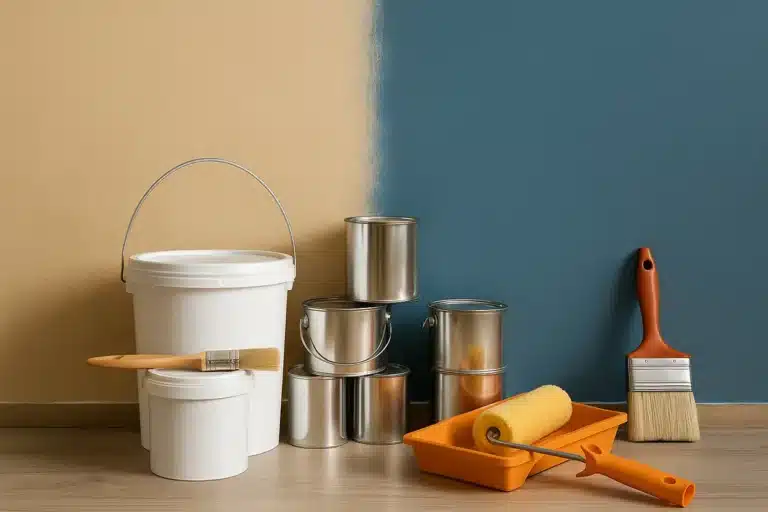
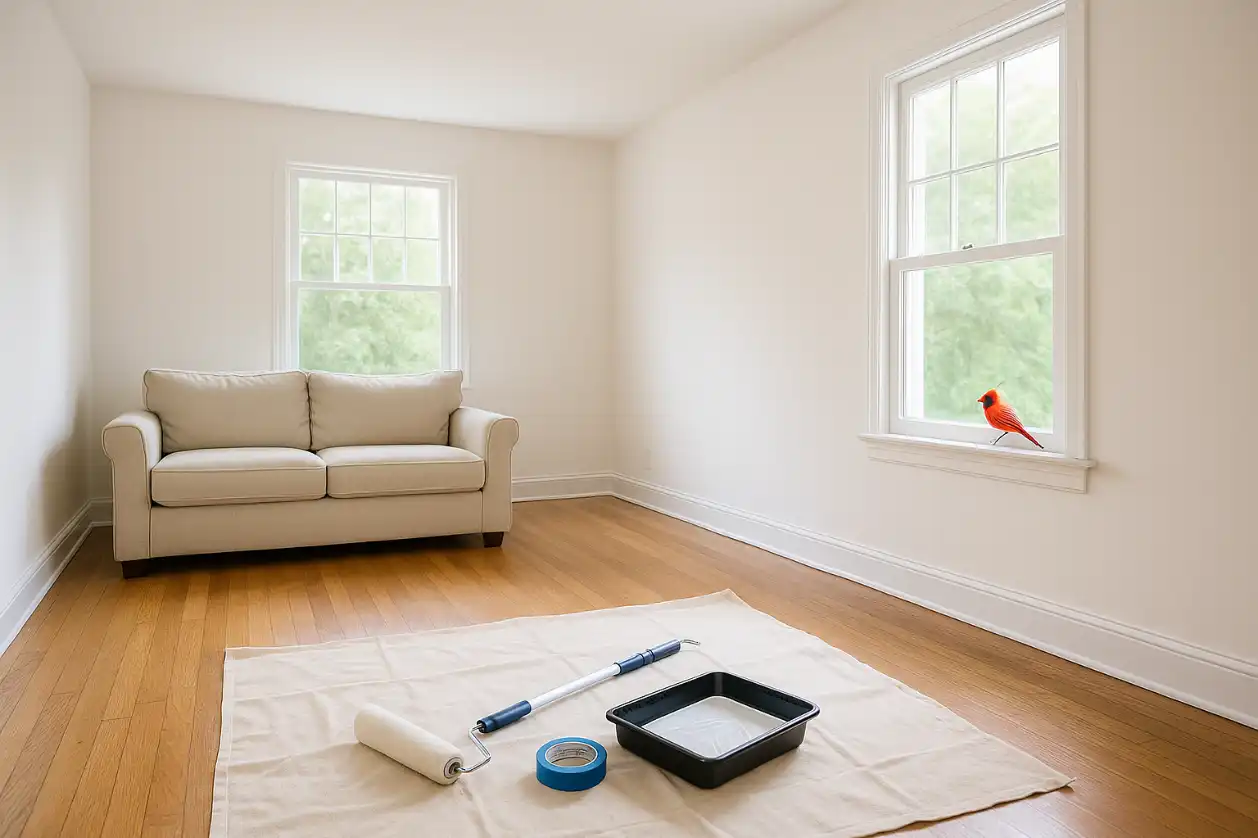
Quick answer: For most interior wall-painting projects, the core kit is simple: a 5-in-1 tool, patching/sanding supplies, a quality angled brush, the right roller cover for the wall texture and paint, a sturdy roller frame, an extension pole, a bucket or tray, a drop cloth, and good lighting. Add specialty tools only when the room or coating actually calls for them.
| Task | Tool to Start With | What Matters Most |
|---|---|---|
| Patch and scrape | 5-in-1 tool + utility knife | Clean edges and controlled prep |
| Sand repairs | Sanding sponge or pole sander | Match grit to the repair and control dust |
| Cut in | 2 to 2½ in. angled synthetic brush | Paint type, stiffness and control |
| Roll smooth walls | 9 in. roller + lower nap cover | Surface smoothness and coating |
| Roll textured walls | 9 in. roller + deeper nap cover | Texture depth and paint pickup |
| Reach walls/ceilings | Locking extension pole | Stable connection and comfortable length |
| Protect floors | Canvas or slip-resistant drop cloth | Coverage, traction and edge control |
| Check the finish | Portable work light | Side-lighting reveals misses and lap marks |
Before buying tools, estimate the paint with the Paint Calculator and read How to Prep Walls for Painting. Tool choices make more sense after the wall condition and coating are known.
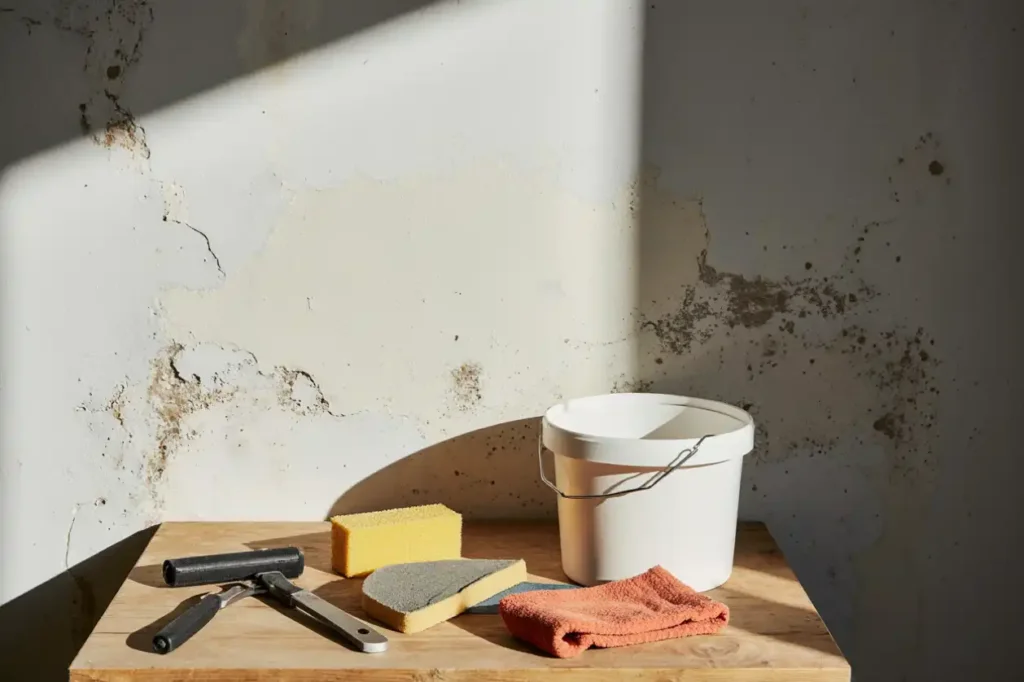
1. Prep Tools: The Part That Changes the Finish Most
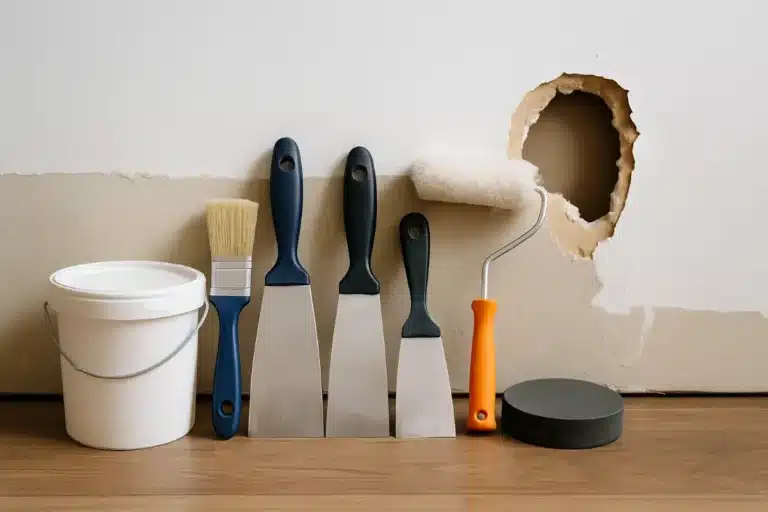
Paint cannot hide loose coating, rough patches, greasy residue, sanding dust, or damaged drywall. Prep tools are where most small painting kits should start.
5-in-1 Painter’s Tool
A 5-in-1 tool is useful for scraping loose material, opening paint cans, cleaning roller covers and handling small patching jobs. Choose one with a comfortable handle and a blade you can control safely.
Patching Knife and Compound
Use a patching knife sized to the repair rather than forcing every hole into one tool. Small nail holes need less width than a larger drywall patch. Follow the patching product’s drying and sanding instructions.
Sanding Sponge or Pole Sander
A sanding sponge is useful for local repairs and edges. A pole sander can help on broader wall areas. Match the abrasive to the surface and avoid over-sanding drywall paper or previously finished surfaces.
If the project can disturb old paint in a pre-1978 home, stop treating sanding like ordinary dust control. EPA’s March 2026 lead-safe guidance says renovation, repair and painting work in pre-1978 homes can create dangerous lead dust. EPA recommends lead-safe work practices and, for homeowners, recommends hiring a lead-safe certified contractor. See EPA lead-safe guidance for DIYers.
EPA’s DIY guidance includes dust containment, wet methods where appropriate, HEPA vacuuming and lead-safe cleanup when lead-based paint may be present.
2. Brushes: Choose by Coating, Surface and Control
One brush is not automatically “the best” for every paint.
Sherwin-Williams recommends nylon, polyester or nylon/polyester brushes for latex paint, while natural bristle is suited to many oil-based coatings. Purdy similarly notes that stiffness, softness, shape and filament type affect cut-in control, paint holding and final appearance. Sherwin-Williams brush and roller guidance · Purdy brush-selection guidance
Angled Brush for Cutting In
For walls, a 2 to 2½ inch angled synthetic brush is a useful starting size for cutting around trim, corners and ceilings. The exact width comes down to hand size, room details and how much control you want.
Compare angled synthetic paint brushes
Soft vs. Stiff Filaments
Purdy describes stiffer filaments as useful where crisp cut lines and thicker coatings matter, while softer filaments can leave a smoother finish on doors, furniture and trim. The coating label and brush packaging should guide the final match.
3. Roller Covers: Match the Nap to the Wall
This is where many painting guides become too absolute.
Purdy and Sherwin-Williams both recommend choosing roller nap based on surface texture and coating. In general, smoother surfaces use lower nap; rougher or more porous surfaces need deeper nap so the cover can reach texture and hold more paint. Purdy roller-cover guidance.

Smooth or Lightly Textured Walls
Sherwin-Williams recommends thinner naps such as ¼ or ⅜ inch for smooth or lightly textured surfaces. Purdy gives similar guidance, with smaller naps for smooth interior surfaces and slightly larger naps for walls and ceilings.
More Textured or Porous Surfaces
For stucco, masonry, textured ceilings, brick or rough surfaces, deeper nap can help the cover reach recesses. Sherwin-Williams notes ½ inch or greater for rougher or porous surfaces, while Purdy provides surface-specific recommendations up to deeper naps for very rough material.
Do not choose nap from wall type alone. Coating viscosity, sheen, desired finish and manufacturer instructions also matter.
4. Roller Frame: Stability Matters More Than Branding
A sturdy roller frame should rotate smoothly, hold the cover securely and connect firmly to the extension pole. A loose frame can chatter, walk sideways or release the cover at the worst moment.
For a standard room, a 9-inch frame is the common starting point because covers are widely available and the size balances speed with control. Mini rollers are useful around tight spaces, cabinets, narrow wall sections and behind fixtures.
5. Extension Pole: Reduce Ladder Moves, Not Safety
Sherwin-Williams recommends using an extension pole for greater reach on walls and ceilings. A pole can reduce how often you reposition a ladder, but it does not make ladders unnecessary in every room.
Choose a pole with:
- a secure locking mechanism
- a length appropriate to the room
- a comfortable grip
- a connection that fits the roller frame
- enough stiffness that it does not flex excessively under pressure
Compare locking extension poles
6. Paint Tray vs. Bucket and Grid
A tray works well for a smaller room and is easy to understand. A bucket with a roller grid can be more efficient for larger spaces because it holds more paint and is easier to move without a shallow open pan.
Choose whichever setup keeps the roller loaded evenly without drowning the cover.
Compare paint buckets and roller grids
7. Painter’s Tape: Useful, but Not Magic
Tape can protect trim and create a guide, but clean lines depend on the surface, paint cure, tape type, adhesion, removal timing and technique.
Use a tape approved for the surface and follow its instructions, especially over recently painted walls, wallpaper, delicate finishes or textured surfaces. Test first when the finish is questionable.
Do not rely on a generic “damp cloth seals the edge” rule for every tape and surface.
Compare painter’s tape options
8. Drop Cloths and Floor Protection
Canvas drop cloths are reusable and can provide more traction than thin plastic, but they are not automatically leakproof. For wet paint or solvent exposure, use floor protection appropriate to the coating and surface.
Protect transitions, stairs and walk paths so the covering itself does not become a trip or slip hazard.
9. Portable Work Light: Cheap Insurance Against Misses
Side-lighting a wall can reveal missed spots, roller lap marks, patch edges and uneven sheen that disappear under flat overhead lighting.
A portable LED work light is especially useful in rooms with limited daylight, dark paint or complicated corners.
10. Do You Need a Paint Sprayer?
Not for most single-room wall projects.
Sprayers can be useful for large open areas, new construction, cabinetry, doors, fences and detailed surfaces, but they add masking, overspray control, cleanup and coating-specific setup.
If you use a sprayer:
- follow the sprayer manufacturer’s instructions
- use only coatings approved for the equipment
- follow the paint label and safety data sheet
- protect adjacent surfaces from overspray
- provide ventilation as required by the product
- use PPE appropriate to the coating and application method
Do not assume “low overspray” means “no masking” or that one handheld sprayer works with every latex paint without thinning.
11. Respirators and Masks: Match PPE to the Actual Hazard
There is no universal “painting respirator” that should be recommended for every interior job.
Normal wall painting, sanding old paint, solvent-based coatings, spray application and lead-dust work can involve different hazards. Read the coating label and safety data sheet, follow the equipment instructions, and use the required PPE for the material and task.
For pre-1978 painted surfaces, use EPA lead-safe renovation guidance before sanding, scraping or disturbing old paint. EPA’s March 2026 guidance emphasizes containment, dust minimization, HEPA cleanup and lead-safe work practices. citeturn500547search7
12. Cleanup Tools That Help Good Brushes Last
Clean applicators according to the coating manufacturer and tool maker. Purdy’s current guidance says mild soap or dishwashing detergent can be used for its brushes after latex/water-based paint; solvent-based coatings require the appropriate cleanup method. See Purdy cleanup guidance.
A brush comb and roller spinner can help remove paint and reshape applicators after cleaning.
Compare brush and roller cleaning tools
Best Painting Tools by Project

One Bedroom or Small Room
- 5-in-1 tool
- patching knife and compound
- sanding sponge
- angled brush
- 9-inch roller frame and appropriate cover
- tray
- extension pole
- drop cloth
Several Rooms
- everything above
- bucket and grid
- extra roller covers
- portable work light
- brush comb/cleaning tool
- organized patching and masking supplies
Textured Walls
- roller cover with deeper nap suited to the texture and coating
- sturdy extension pole
- brush for edges and recesses
- work light to check coverage
Older Pre-1978 Painted Surfaces
- do not start sanding automatically
- determine whether lead-based paint may be present
- follow EPA lead-safe work practices or hire a lead-safe certified contractor
- use HEPA/dust-control methods where the guidance calls for them
Where to Spend and Where to Save
Spend first on the tools that directly affect application and control:
- brushes
- roller covers
- roller frame
- extension pole
- surface-prep tools
You can often save on simpler support items as long as they are safe and functional:
- trays
- bucket grids
- basic scrapers
- mixing sticks
- storage containers
The cheapest brush or roller cover can create more cleanup, lint, poor coverage or replacement cost than it saves.
Plan the Paint Before Buying Tools
- Calculate paint quantity and cost inputs
- Prep walls before painting
- Follow the room-painting sequence
- Choose the right paint type and finish
- Visit the Cardinal Decor Project Shop
Affiliate disclosure: As an Amazon Associate, Cardinal Decor earns from qualifying purchases. Product availability, specifications, prices and safety instructions can change. Check the current product listing and the paint/coating manufacturer’s instructions before buying or using tools.
Painting Tools FAQs
What roller nap should I use for smooth walls?
Sherwin-Williams recommends thinner naps such as ¼ or ⅜ inch for smooth or slightly textured surfaces. Purdy gives similar surface-based guidance. The exact cover also depends on coating, sheen and desired finish. citeturn500547search3turn500547search0
What brush is best for cutting in?
A 2 to 2½ inch angled synthetic brush is a strong starting point for many water-based interior wall projects because the angle gives better edge control. Match filament type to the coating. citeturn500547search5turn500547search9
Do I need painter’s tape if I can cut in?
No. Experienced painters may cut clean lines without tape. Tape is still useful for protecting surfaces or when you want a physical guide.
Do I need a sprayer for a professional-looking wall?
No. A well-prepared wall, appropriate roller cover, quality brush and controlled technique can produce a strong finish without spray equipment.
Should I wear a respirator when painting?
Use PPE based on the coating, application method and hazard, not a blanket rule. Read the product label and safety data sheet. Spraying, solvent coatings and lead-dust work can require different controls.
What tools should I buy first if I am on a budget?
Start with prep tools, a good angled brush, a stable roller frame, the correct roller cover, an extension pole and floor protection. Add specialty tools only when the project demands them.