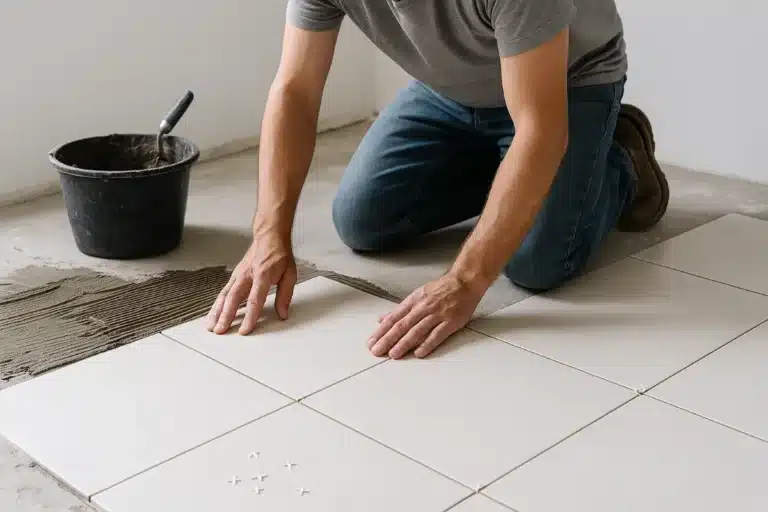
DIY Kitchen Backsplash: Safe Tile Planning & Installation Guide
A DIY kitchen backsplash is a realistic project when the wall is sound, the layout is planned before adhesive goes on, and the setting materials are approved for the actual tile and substrate. Skip universal shortcuts such as “always prime,” “always use unsanded grout,” or “leave this exact clearance behind every range.” Those decisions change with the products, wall condition, tile, and appliance.
This guide focuses on installation. For tile selection, use our Types of Tile guide. For patterns, use Tile Layout Patterns. For boxes, waste, grout, and project size, use the Tile Calculator.
- Wall: rigid, flat, dry, clean, and suitable for the chosen setting material.
- Existing tile: sometimes acceptable if firmly bonded and prepared for a compatible tile-over-tile system.
- Adhesive or mortar: choose by tile, substrate, tile size, and manufacturer approval.
- Grout: use the joint-width range and tile compatibility stated by the grout maker.
- Sealer: only when the tile, stone, or grout system calls for it.
- Range or cooktop: use the appliance installation manual and local code. There is no single clearance number for every model.
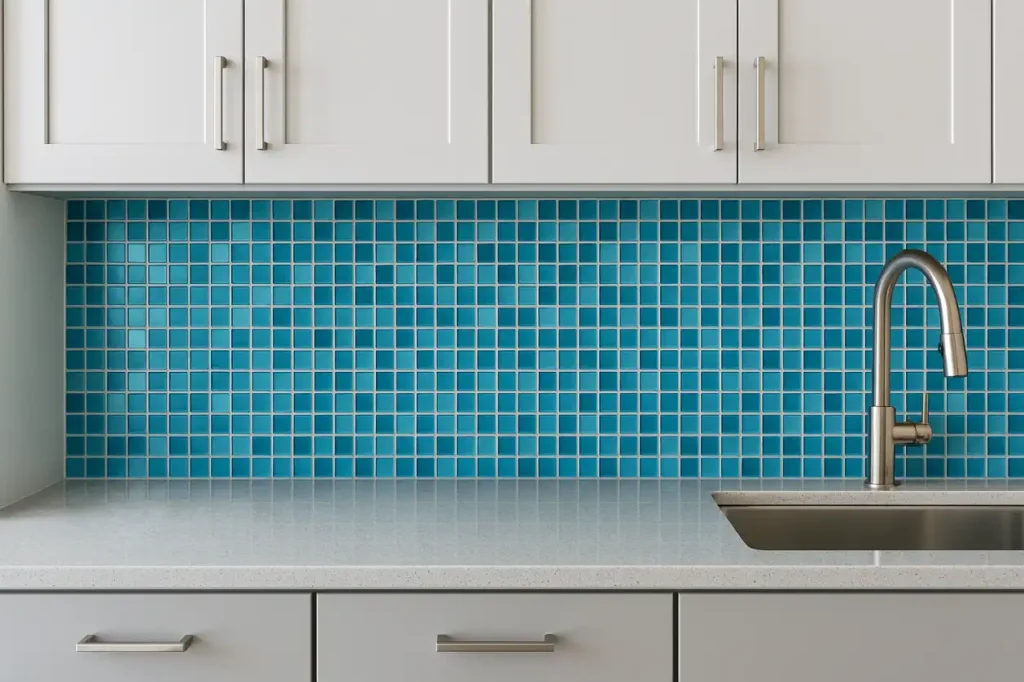
Start With the Wall, Not the Tile
A decorative tile cannot compensate for a weak bonding surface. Remove grease, loose coatings, wallpaper residue, dust, and other contaminants. Repair damaged drywall and check the wall with a straightedge so humps or low spots do not dictate the finished tile plane.
Custom Building Products says tile should be placed on a rigid, flat, structurally sound surface that is clean, dry, and free of materials that can prevent a good bond. Its surface-preparation guide also lists surfaces that are not suitable for direct bonding without another preparation method. Read the manufacturer surface-preparation guide.
Can You Tile Over Painted Drywall?
Sometimes. Painted drywall can be glossy, chalky, peeling, greasy, or firmly bonded. Your setting-material manufacturer may call for cleaning, abrasion, removal of weak paint, a primer, or a different mortar. Follow the product data sheet instead of a blanket prep rule.
Can You Tile Over an Existing Backsplash?
Some manufacturers support tile over sound existing tile. MAPEI, for example, publishes tile-over-tile systems that require the old surface to be in good condition and properly cleaned and prepared. Loose tile, movement, hollow areas, failing drywall, excessive buildup around outlets, or a surface your new mortar does not approve are reasons to stop and reassess. See MAPEI tile-over-tile guidance.
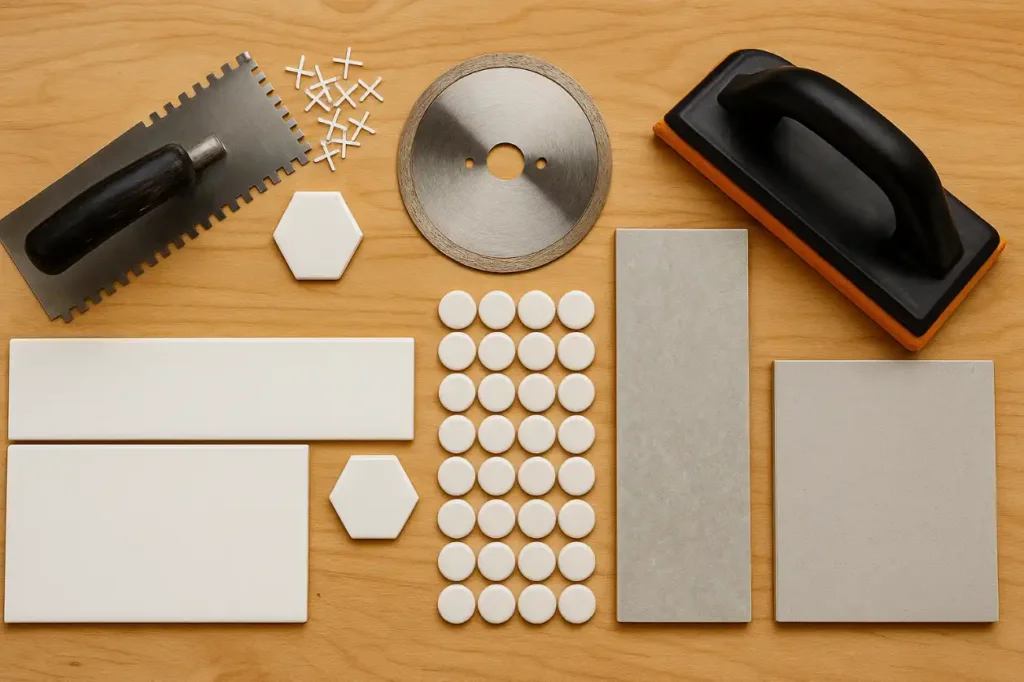
Dry-Layout the Backsplash Before You Mix Anything
Measure the full run, mark a visual center, and map every outlet, switch, cabinet edge, corner, and exposed termination. A dry layout helps you avoid tiny slivers at visible edges and shows where a pattern will collide with an outlet or cabinet line.
- Use a level or laser reference instead of assuming the countertop is perfectly level.
- Plan the first and last cuts before setting the first tile.
- Use the actual tile dimensions, not only the nominal size on the carton.
- Keep factory edges in visible locations when the layout allows.
- Move herringbone, vertical stack, offset, and other pattern decisions to our Tile Layout Patterns guide.
Run the dimensions through the Tile Calculator before ordering. It handles quantity, boxes, waste, grout, and project cost without duplicating the math on this page.
Choose the Bonding System for the Tile and Substrate
There is no single best backsplash adhesive. A premixed adhesive can be approved for some interior wall installations. A polymer-modified mortar may be required or preferred for other tile types, sizes, surfaces, or conditions. Glass, natural stone, large-format tile, and existing tile can each change the recommendation.
Pick one compatible system and follow its technical data rather than mixing rules from unrelated products. MAPEI notes that its support team selects products based on the tile, substrate, and installation method. See MAPEI product-selection guidance.
Tools Worth Having Before the First Tile Goes Up
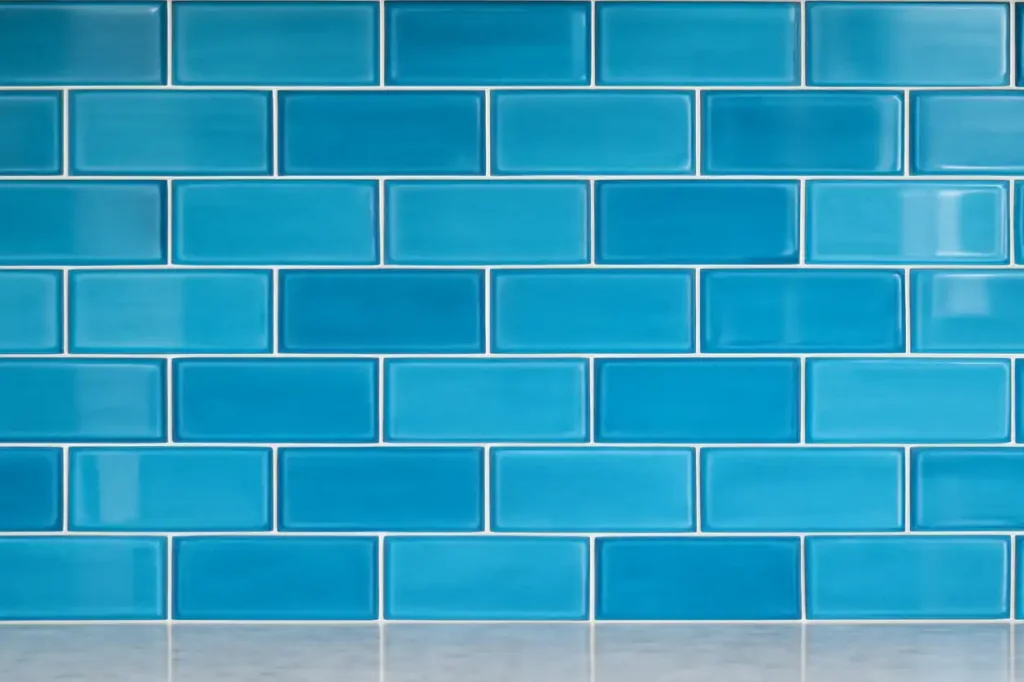
- Level or laser, tape measure, pencil, straightedge, and spacers
- Notched trowel sized for the tile and setting material
- Manual cutter, wet saw, or specialty cutter that matches the tile
- Grout float, sponges, buckets, and clean water
- Eye protection and any other PPE required by the tool and product labels
Affiliate disclosure: Cardinal Decor may earn a commission from qualifying purchases made through the Amazon links below, at no extra cost to you.
- Tile spacers and leveling clips on Amazon
- Notched tile trowels on Amazon
- Manual tile cutters on Amazon
- Grout floats and sponges on Amazon
Set Tile in Small, Controlled Sections
Mix or open only what you can use inside the product’s stated working time. Spread the setting material with the trowel notch and technique required by its instructions. If mortar skins over before tile is placed, remove it and apply fresh material instead of pressing tile into a weak surface film.
Check coverage as you work by removing an occasional tile and inspecting the back. Keep joints clean enough for grout, use spacers to control joint width, and keep the field aligned to your reference line.
Cutting Around Outlets, Corners, and Cabinets
Measure each cut from the installed tile field and dry-fit the piece before setting it. Use a cutter approved for the material and follow the tool instructions for eye, hearing, respiratory, and electrical safety. Do not bury electrical boxes behind the finished surface. If tile thickness changes the box-to-wall relationship, use a code-compliant box or extension method. Electrical work beyond ordinary cover-plate removal may require qualified help under local rules.
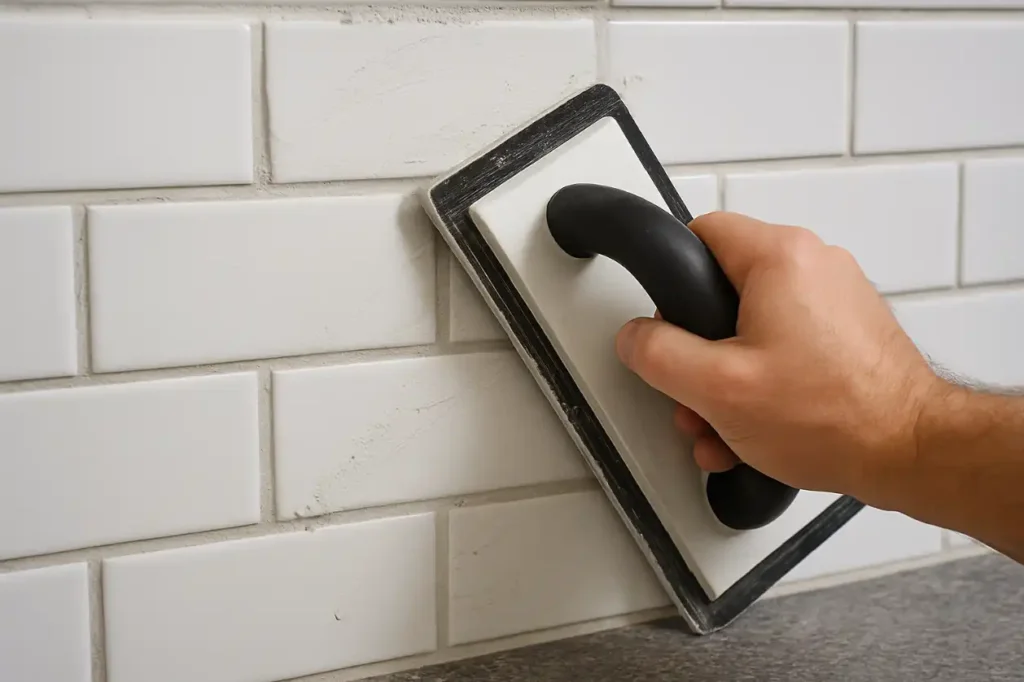
Grout by the Product Instructions, Not an Old Rule of Thumb
The old “sanded for wide joints, unsanded for narrow joints” shortcut is too crude for the grout products sold now. Cementitious, high-performance, premixed, and epoxy grouts have different joint-width ranges, cleanup windows, and compatibility limits. Some polished stone and delicate tile can be scratched by an unsuitable grout.
- Read the grout’s approved joint-width range.
- Check tile guidance for scratch or stain testing.
- Follow the stated mix ratio and water limits for cement-based grout.
- Use the maker’s cleanup timing rather than a fixed number copied from another product.
What Goes Where Tile Meets the Countertop?
Changes of plane and perimeter joints can move differently from the tile field. Use the sealant or movement-joint detail required by the installation system rather than assuming rigid grout belongs in every corner and change of plane.
Plan the Area Behind a Range or Cooktop From the Appliance Manual
Do not copy a clearance number from another kitchen. Freestanding ranges, slide-in ranges, cooktops, gas appliances, and electric appliances can have different requirements. The model’s installation manual controls its clearances, wall-finish limits, ventilation, anti-tip provisions, and service access. Local building, gas, and electrical rules can add requirements.
Before tiling this zone, locate the exact appliance manual and confirm the finished backsplash will not block vents, interfere with required clearances, trap a service panel, or prevent installation as designed.
Seal Only the Materials That Need It
Many glazed ceramic and porcelain surfaces do not need a penetrating sealer. Some natural stones and some grout products can benefit from or require one, while other grout systems do not. The Natural Stone Institute notes that sealing can make stone more stain resistant, not stain proof, and that many stones do not require sealing. It also warns that acidic cleaners can etch marble, limestone, and travertine. Read Natural Stone Institute care guidance.
A Better DIY Backsplash Workflow
- Inspect the wall. Correct weak, loose, contaminated, or unsuitable surfaces.
- Choose the tile. Use the Types of Tile guide.
- Plan the pattern. Use Tile Layout Patterns.
- Run the math. Use the Tile Calculator.
- Select a compatible installation system. Match setting material, grout, sealant, and any primer to the tile and substrate.
- Dry-layout the first rows. Resolve edges, outlets, corners, and awkward cuts first.
- Set and check as you go. Work in manageable sections and inspect coverage.
- Grout, seal, and clean by the product instructions.
DIY Backsplash Questions
What Is the Easiest Tile Backsplash for a Beginner?
A simple field tile with mostly straight cuts is usually easier to plan than a layout with many diagonals, tiny mosaics, or complex outlet cuts. Wall geometry and edge conditions matter as much as tile style.
Do I Need Cement Backer Board for a Kitchen Backsplash?
Not every dry kitchen backsplash requires cement backer board. Some setting products are approved over properly prepared gypsum wallboard in suitable interior applications. Damaged walls, unusual moisture exposure, or an unapproved substrate can require a different assembly.
Can I Use Premixed Tile Adhesive?
Some premixed products are approved for interior wall tile and listed substrates. Limits can change with tile type, size, moisture, heat, and substrate, so read the product data sheet before buying.
Should Backsplash Grout Be Sealed?
It depends on the grout. Some cementitious products may benefit from a compatible sealer, while other grouts are designed without that step. Follow the grout manufacturer.
Can Tile Go Directly Behind a Stove?
Tile is used in many kitchen wall assemblies, but the range or cooktop manual determines model-specific clearances and wall requirements. Check that manual and local code before finishing the wall.
Installation Guidance Used for This Guide
- Custom Building Products: Surface Preparation Guide
- MAPEI: Installing tile over existing tile
- MAPEI: Product and installation support
- Natural Stone Institute: Stone care and sealing
For more project planning, visit the Tile Resources hub.