DIY or Hire a Tile Installer? How to Decide
DIY tile installation is most manageable when the surface is sound, the layout is simple, and the project does not depend on building a watertight shower. Hire a qualified tile installer when subfloor repairs, drainage, waterproofing, difficult cuts, or demanding materials exceed your skills. The tile you see is only part of the job. The layers underneath deserve equal attention.
Choose by project difficulty, not square footage
A small shower can demand more judgment than a larger, straightforward backsplash. Ask what must work beneath the tile, which details are difficult to undo, and whether you can keep the room out of service while the materials cure.
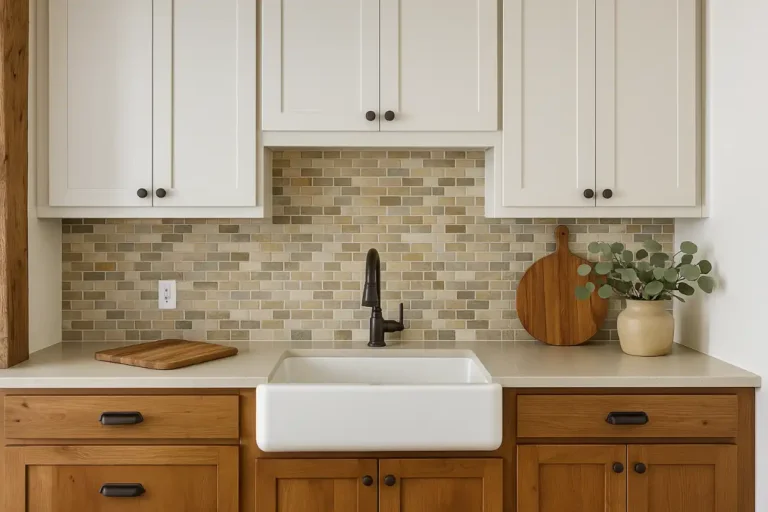
- Consider DIY: An accessible backsplash outside a shower or tub surround, with a suitable wall, straightforward cuts, and materials you can handle safely.
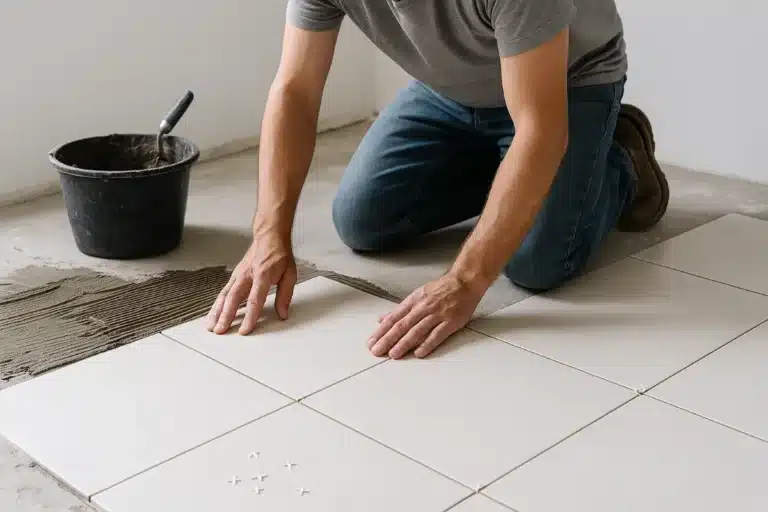
- Assess carefully: A room floor with a documented suitable substrate, simple layout, and manageable transitions. Being small does not make a floor ready for tile.
- Get professional estimates: Showers, wet rooms, damaged or moving floors, large heavy tiles, intricate layouts, and projects that include plumbing or structural changes.
Compare intended uses and installation demands in our types of tile guide before purchasing. A tile you like may require a different substrate, cutting setup, or installer skill set than you expected.
Check the subfloor before buying the finish
Do you know what supports the tile, whether it is suitable for the proposed assembly, and what preparation it needs? Cracks, soft areas, movement, water damage, or an unknown layered floor are reasons to pause and investigate. Covering a problem does not resolve it.
The Ceramic Tile Education Foundation’s hiring roadmap includes questions about structural adequacy, existing flooring, adjacent-floor transitions, and whether an engineer is needed. These are useful estimate questions because the final installation depends on more than the tile itself.
- Ask how the installer will assess the existing structure and substrate.
- Have preparation and repair allowances separated from tile-setting labor.
- Confirm the finished floor height at doors, cabinets, appliances, and adjoining rooms.
- Ask which installation method and manufacturer instructions the proposed assembly follows.
If existing flooring or adhesive is of uncertain age or composition, have it assessed before demolition. Do not make removal your money-saving task until you know what you are disturbing and how it should be handled.
Treat shower waterproofing as its own job
Tile and grout are not a substitute for a waterproofing system. Schluter’s shower-system guidance explains that tiles and grout joints are not inherently waterproof. The waterproofing assembly must manage water behind the finished surface.
For a shower estimate, ask for the waterproofing system by name and how the drain, corners, seams, curb, niches, and pipe penetrations will be handled. Ask who checks the work and what testing is planned before tile covers it. The applicable product instructions and local requirements should guide the method and timing.
If you cannot explain how the complete assembly manages water, get a qualified installer involved before starting. A neat grout line cannot tell you whether the concealed work is sound.
Test the layout before committing to DIY
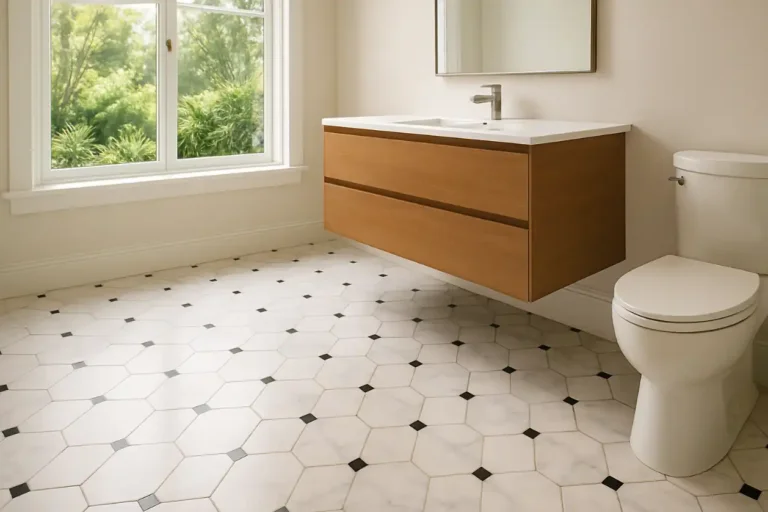
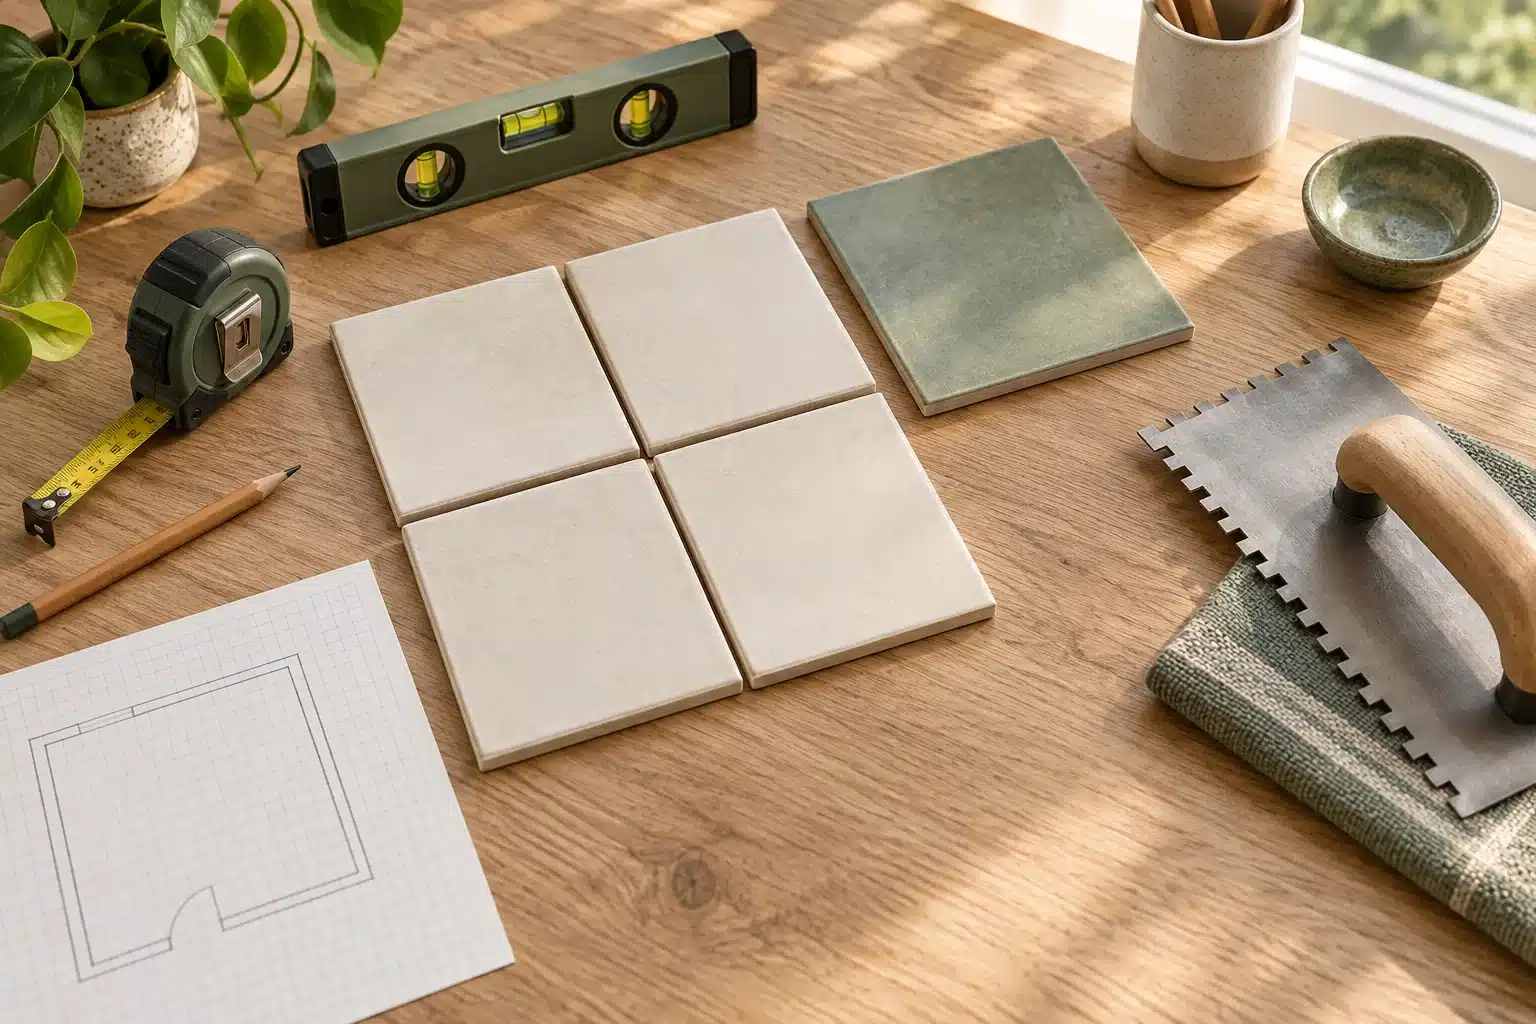
Sketch or dry-lay the pattern to see edge cuts, corners, doorways, outlets, and focal points. Our tile layout patterns guide can help you compare the visual choices. Then judge the work required to produce them.
- Where will the layout start, and where will narrow cuts land?
- Which edges need trim, profiles, or finished tile edges?
- Can you make the required cuts with equipment you know how to use?
- Can you lift and position the selected tile safely?
- How will the installer handle movement joints and transitions within the chosen assembly?
A repeating pattern or large tile may look quiet once finished while demanding careful planning during installation. Ask to approve the layout before setting begins, especially at highly visible edges.
Calculate tile, waste, and the complete budget
Use the Tile Calculator for an initial estimate of area, tile, boxes, grout, and selected material costs. Confirm the final order against the actual product, layout, cuts, box coverage, and installer’s plan. No single waste percentage suits every job.
Record allowance for cuts and breakage, then decide how many spare pieces to retain for repairs. Ask about shade and production-lot consistency before buying extra boxes later. Keep the carton details with your project records.
- Tile and finish materials: Field tile, trim, profiles, grout, sealant, and any product-required treatment.
- Assembly materials: Approved substrate preparation, setting materials, membranes, and waterproofing where needed.
- Project costs: Removal, disposal, delivery, taxes, equipment, room protection, and any separate trade work.
- Time and uncertainty: Your active work hours, room downtime, and an allowance for conditions discovered after removal.
Compare that complete DIY budget with an installer’s quote for the same scope. Our tile installation cost guide explains the price drivers. A quote that includes preparation and waterproofing should not be compared with a tile-only shopping total.
Plan the days when nobody can use the room
List demolition, inspection, repairs, substrate preparation, waterproofing where needed, tile setting, grouting, and return to service. Some stages require waiting even when nobody is actively working. Follow the chosen products’ instructions for curing, testing, foot traffic, and water exposure.
Ask the installer which days require access, when the room will be unavailable, and what could extend the schedule. If the project affects your only bathroom or a main route through the home, make an access plan before work starts.
Ask these questions when comparing tile installers
- Have you completed projects with this tile type and this installation method? Can I see comparable work and speak with past customers?
- Who will perform the work, and what training or credentials can I verify?
- What substrate assessment and preparation does the price include?
- Which setting, waterproofing, and grout products will be used, and are they compatible within the proposed assembly?
- How will layout, cuts, edge finishes, transitions, and movement joints be agreed?
- What testing or inspections are included before concealed work is covered?
- Who orders materials, checks quantities, and handles shortages or damaged deliveries?
- What is excluded, and how must I approve extra work and costs?
- What are the payment milestones, expected schedule, cleanup scope, and return-to-use instructions?
- What written warranty applies, and can you provide relevant insurance documentation and any required local credentials?
The CTEF homeowner hiring guide offers a contractor questionnaire for deeper comparisons. Credentials are one part of the assessment; also examine experience with your proposed project, the written scope, and references.
Can you do part of the work yourself?
Yes, if the installer agrees to the split before work begins. Clearing the room or taking responsibility for an agreed purchasing list may be practical. Demolition, substrate preparation, and waterproofing need a much clearer handoff because they affect the finished assembly.
Get the DIY tasks, acceptance conditions, price effect, and warranty responsibilities in writing. Do not assume a contractor will set tile over work they have not inspected or accepted.
Your next step
Measure the area, choose a likely tile and layout, and list everything you do not yet know about the substrate. Use the Tile Calculator for a quantity starting point. If waterproofing, repairs, or access remain unresolved, take those questions to an installer before ordering. Find more planning help in Tile Resources.
Ready to compare quotes? Use our contractor estimate comparison guide and free worksheet to check the scope, allowances, exclusions, and payment terms.
Featured image: AI-generated editorial illustration created for Cardinal Decor. It is a planning concept, not a photograph of a completed project or a technical installation diagram.