How to Install Peel and Stick Wallpaper: Step-by-Step
To install peel and stick wallpaper, start with a clean, smooth, dry, fully cured wall, mark a plumb starting line, expose only part of the backing at a time, and smooth each section from the center toward the edges. The exact surface, overlap, repositioning, bathroom, cleaning, and removal rules vary by manufacturer, so read the instructions for the product you bought before you cut the first strip.
Before ordering, use the Wallpaper Calculator with the package dimensions and pattern repeat printed on the label. For a large single-image mural, see the peel and stick wall mural guide.
Peel and Stick Wallpaper Installation Checklist
| Step | What to Do |
|---|---|
| 1. Check the wall | Confirm the product is approved for your wall surface and that new paint has fully cured. |
| 2. Clean and dry | Use the cleaning method recommended by the wallpaper maker and leave no dust, grease, moisture, or cleaner residue. |
| 3. Mark a plumb line | Use a level rather than trusting a corner, ceiling, or trim to be perfectly straight. |
| 4. Position gradually | Peel a manageable amount of backing, align the top, then smooth while exposing more adhesive. |
| 5. Match seams and pattern | Use the maker’s butt-seam or overlap instructions. Do not invent an overlap amount. |
| 6. Trim carefully | Use a sharp blade and straightedge only after the strip is correctly positioned. |
Visit our Wallpaper Resources page for DIY project guides. Don't forget to use our free wallpaper calculator before you start.

Tools to Have Ready
- Level
- Tape measure and pencil
- Wallpaper smoother or felt-tip squeegee
- Sharp utility or craft knife with fresh blades
- Straightedge
- Clean lint-free cloth
- Painter’s tape if useful for temporary positioning
Do not assume every brand wants the same wall cleaner. Tempaper recommends a 1:1 mix of isopropyl alcohol and water for its product, while other manufacturers give different cleaning instructions. Follow the directions for your wallpaper rather than using one universal recipe.
Step 1: Make Sure the Wall Is Compatible
Smooth painted walls are the usual starting point, but paint finish and texture rules vary. Tempaper, for example, favors smooth surfaces and warns against some flat, matte, low-sheen, and textured surfaces. WallPops also calls for a smooth, clean, dry surface. Test a small hidden area when the paint finish or wall condition is uncertain.
If the wall is newly painted, let the paint fully cure before installation. WallPops specifies at least four weeks for newly painted walls. Tempaper tells users to follow the paint manufacturer’s cure time. A dry-to-the-touch wall is not necessarily fully cured.
Patch loose or damaged areas first. If you sand a repair, remove the dust before installing wallpaper. For detailed wall preparation, use the wallpaper wall-prep guide.
Step 2: Measure and Plan the First Strip
Measure the wall height and read the product instructions before cutting. Patterned wallpaper may require extra material to match repeats. If the package uses a vertical repeat, enter that repeat in the Wallpaper Calculator rather than estimating by eye.
Choose the starting edge, measure the strip width, and use a level to mark a vertical plumb line. Corners, ceilings, and door trim can be slightly out of square, so the level line is the reference that keeps the first strip straight.

Step 3: Apply the First Strip
- Expose only a short section of the adhesive at the top.
- Align the strip with the plumb line and leave any trimming allowance required by the manufacturer.
- Press the top section lightly into place.
- Pull away more backing a little at a time.
- Smooth from the center toward the edges as you work downward.
- If the strip drifts and the product allows repositioning, lift the affected section and reset it instead of stretching the material.
- Trim the top and bottom only after the strip is correctly aligned.
A sharp blade matters. A dull blade can drag, tear, or fray the wallpaper. Protect the wall, trim, floor, and your hands while cutting.

Step 4: Add the Next Strips
Match the pattern before committing the next strip. Some products use butt seams; others require an overlap. Follow the manufacturer’s seam instructions instead of using a universal 1/16-inch overlap. Work from the most visible pattern area outward and check alignment repeatedly before pressing the full strip down.
Corners, Windows, Doors, Outlets, and Switches
Inside Corners
Do not assume a corner is plumb. Follow the product’s corner method, keep the material relaxed rather than stretched, and use a smoother to seat it gently. Large forced folds can create tension that later lifts.
Windows and Doors
Leave enough material to trim accurately at the casing. Press the wallpaper into position before making the final cut, and use a straightedge where it helps protect the finished edge.
Outlets and Switches
Turn off the circuit at the breaker and verify the device is de-energized with an appropriate tester before working around an electrical opening. Do not push a knife, smoother, or other tool into an energized electrical box. If you are not comfortable verifying power or working around the opening, stop and use qualified electrical help.
With power confirmed off, follow the wallpaper maker’s trimming method around the opening and keep cuts inside the area that will be covered by the faceplate. Restore the plate and power only after the work is complete.
How to Fix Bubbles and Wrinkles
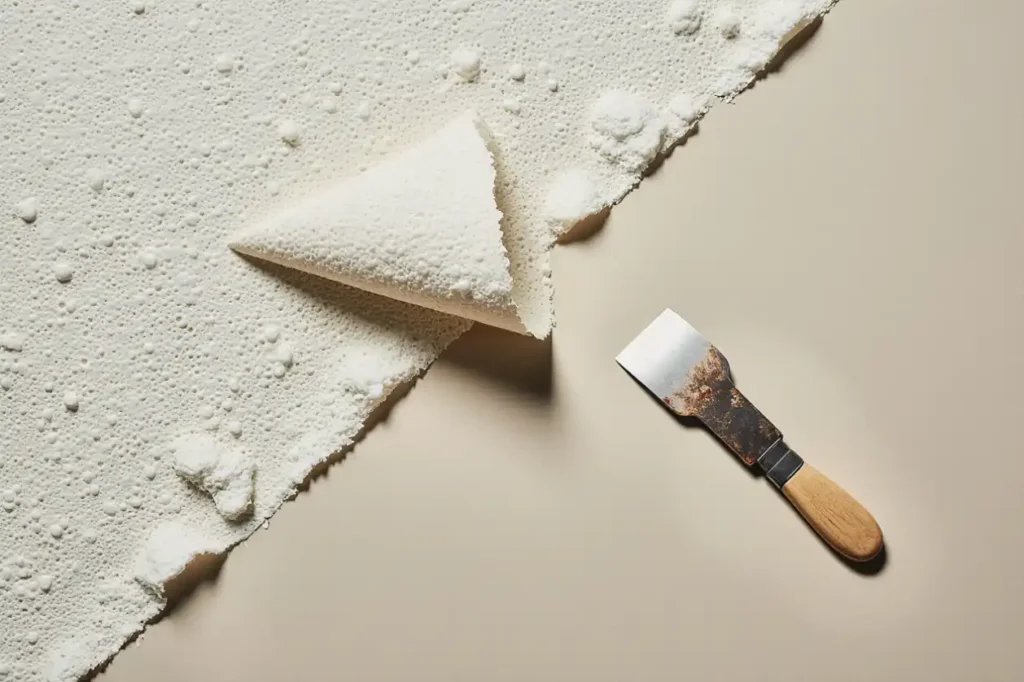
First try to move trapped air toward the nearest edge with a smoother. If the product is repositionable, lift and reset the affected section when the manufacturer allows it. Do not make pinholes the default fix. A puncture can remain visible, damage the printed surface, or conflict with the product warranty.
Can You Install Peel and Stick Wallpaper in a Bathroom?
Only if the exact product allows the location. WallPops says its peel-and-stick wallpaper can be used in bathrooms when it is not directly exposed to water and the room is ventilated. Other products may have different humidity limits. Peel-and-stick wallpaper is decorative and is not a substitute for a waterproof shower or wet-wall system.
Cleaning and Removal
Use the manufacturer’s cleaning directions. Do not assume every ink, coating, or adhesive tolerates the same detergent or solvent.
For removal, start with the method published by the wallpaper maker and work slowly. Do not automatically add heat or rubbing alcohol to the wall. Heat and solvents can affect adhesives, paint, coatings, and finishes differently. Test a small area first if the instructions permit an added removal aid.
Common Installation Mistakes
- Installing over paint that has not fully cured
- Skipping the small-area compatibility test
- Trusting a crooked corner instead of a level line
- Removing too much backing at once
- Stretching the material while trying to force alignment
- Ignoring pattern repeat or panel order
- Using a dull trimming blade
- Assuming every brand uses the same overlap, cleaner, temperature, bathroom, or removal rules
Useful Wallpaper Installation Tools
Affiliate disclosure: As an Amazon Associate I earn from qualifying purchases. These are tool-category links, not endorsements of a specific product. Check your wallpaper manufacturer’s instructions before buying tools.
Peel and Stick Wallpaper Installation FAQs
How long should fresh paint cure before peel and stick wallpaper?
Follow both manufacturers. WallPops specifies at least four weeks for newly painted walls. Tempaper tells users to follow the paint manufacturer’s full cure time.
Can peel and stick wallpaper damage paint?
It can. Paint condition, cure time, finish, adhesive, wall prep, installation length, heat, humidity, and removal method all affect the risk. Test first and follow the wallpaper maker’s surface and removal instructions.
Can it go over orange-peel texture?
Many products are intended for smooth surfaces and may not adhere evenly to texture. Check the exact product instructions and test a sample rather than assuming light texture is compatible.
Should I pop a wallpaper bubble with a pin?
Not as a first step. Try smoothing air toward an edge or repositioning the section when the product permits it. Puncturing the surface can leave a visible mark or conflict with manufacturer instructions.
Manufacturer Instructions Checked
Sources checked September 6, 2026. Product instructions control when they differ from general guidance.
For more project planning, use the Wallpaper Calculator, compare mural options in the Peel and Stick Wall Murals guide, or browse Wallpaper Resources.