How to Paint a Room: 7 Steps from Prep to Final Coat
Learning how to paint a room gets much easier when you stop treating it like one giant task. The cleanest workflow is seven steps: plan the job, protect the room, repair the surfaces, prime where needed, paint the first coat, apply the next coat on the manufacturer’s schedule, then finish and clean up.
Before buying paint, measure the actual surfaces and use the Paint Calculator. If your walls need more than minor patching, review How to Prep Walls for Painting first. For the full paint-planning path, visit Painting Resources.
How to Paint a Room in 7 Steps
| Step | What you are doing | Common mistake to avoid |
|---|---|---|
| 1 | Plan and measure | Buying by floor area instead of paintable wall/ceiling area |
| 2 | Clear and protect the room | Leaving furniture, floors, hardware and fixtures exposed |
| 3 | Clean, patch and prepare surfaces | Painting over dust, grease, loose coating or wet repairs |
| 4 | Prime only where needed | Assuming every repaint needs a full primer coat |
| 5 | Cut in and roll the first coat | Letting edges dry far ahead of the roller |
| 6 | Recoat on the product schedule | Using a generic dry-time rule instead of the label |
| 7 | Finish, inspect and clean up | Rushing tape removal or scrubbing fresh paint too soon |
Step 1: Plan the Room and Measure the Paintable Area
Decide what is actually being painted: walls only, walls and ceiling, or walls plus trim and doors. Those are different projects with different paint quantities, tools and timing.
- Measure wall lengths and ceiling height.
- Subtract large openings when your calculator or paint plan calls for it.
- Check the coating’s stated coverage and expected number of coats.
- Keep ceiling, wall and trim products separate in your estimate if they use different coatings.
For the math behind coverage, see Paint Coverage per Gallon. Do not add an arbitrary waste percentage to every room; touch-up allowance depends on the coating, surface, number of coats and how much paint is left after the job.
Step 2: Clear the Room and Protect What Stays
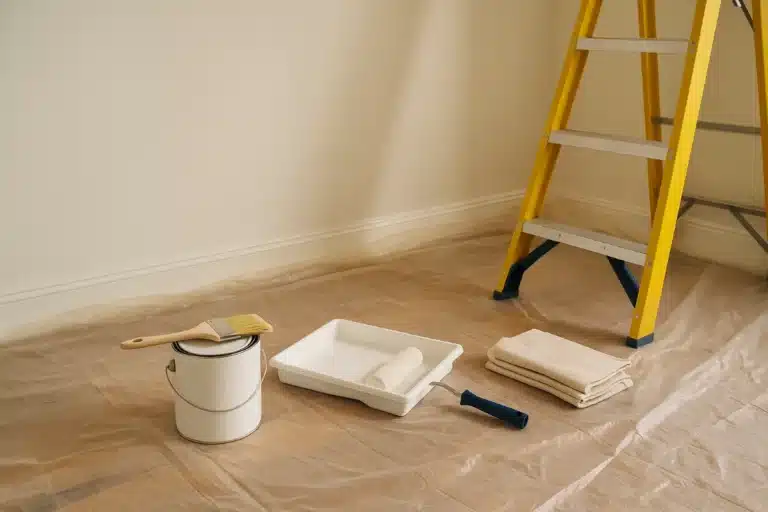
Move small furniture out. Pull larger pieces toward the center where possible and cover them. Protect floors with drop cloths or another material that will stay in place while you work.
- Remove wall art, hooks and easy-to-remove hardware.
- Protect floors before opening paint.
- Cover fixtures and anything that cannot be removed.
- Keep ladders and walking paths clear.
- Use painter’s tape where it helps the surface and technique, but do not depend on tape to replace careful cutting-in.
For a basic equipment list, use Must-Have DIY Home Tools.
Step 3: Clean, Repair and Prepare the Walls
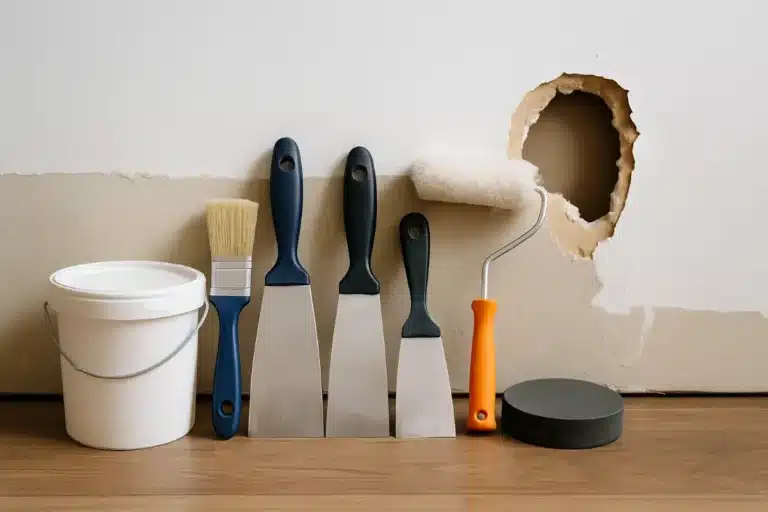
Paint follows the surface underneath it. Remove dust and contamination that could interfere with adhesion, repair holes or damaged areas, let patching compounds dry as directed, then sand only as much as the repair or coating system requires. Remove sanding dust before painting.
Do not paint over active leaks, damp drywall, loose coating or a continuing moisture problem. Fix the source first.
Lead warning for pre-1978 homes
If your prep will sand, scrape, cut or otherwise disturb old painted surfaces in a home built before 1978, review lead-safe practices before creating dust. EPA says pre-1978 homes are more likely to contain lead-based paint and recommends lead-safe work practices for renovation, repair and painting projects.
Step 4: Prime Where the Surface Needs It
Primer is useful when you are dealing with repaired drywall, porous patches, stains, difficult substrates, bare material or a coating system that specifically calls for primer. A sound previously painted wall does not automatically need a full-room primer coat.
Match the primer to the problem and to the topcoat. When in doubt, use the paint manufacturer’s recommended system rather than mixing products based only on price.
Step 5: Cut In and Roll the First Coat
Stir the paint thoroughly. Use an angled brush to cut in around corners, trim, ceilings and other edges, then roll the open wall areas. Work in manageable sections so brushed edges do not dry long before the roller reaches them.
- Load the roller evenly without flooding it.
- Spread paint across a manageable section.
- Overlap into the previous wet area rather than starting isolated patches.
- Use consistent pressure and avoid repeatedly rolling paint that has begun to set.
- Follow the coating instructions for temperature, ventilation and application thickness.
If the ceiling is part of the project, painting it before the walls usually makes cleanup and edge control easier. Trim can be painted before or after walls depending on the coating system and the finish sequence you prefer.
Step 6: Let the Coat Recoat, Then Apply the Next Coat
“Dry to the touch” and “ready to recoat” are not the same thing. Use the recoat time on the specific paint label or technical data sheet. Temperature, humidity, airflow, color and film thickness can change how quickly a coating is ready.
Inspect the first coat in good light before recoating. A second coat is common, but the number of coats depends on the color change, substrate, primer, product and coverage you achieved.
Step 7: Inspect, Remove Protection and Let the Paint Cure
Check corners, edges and repaired areas before putting the room back together. Remove tape according to the tape and coating directions so you do not tear the fresh film. Clean tools with the method recommended for the coating you used.
- Label leftover paint with the room and date.
- Store only usable paint according to the container instructions and local requirements.
- Wait for the coating’s stated cure period before aggressive cleaning or scrubbing.
- Keep a small amount for future touch-ups when practical.
What Paint Finish Should You Use?
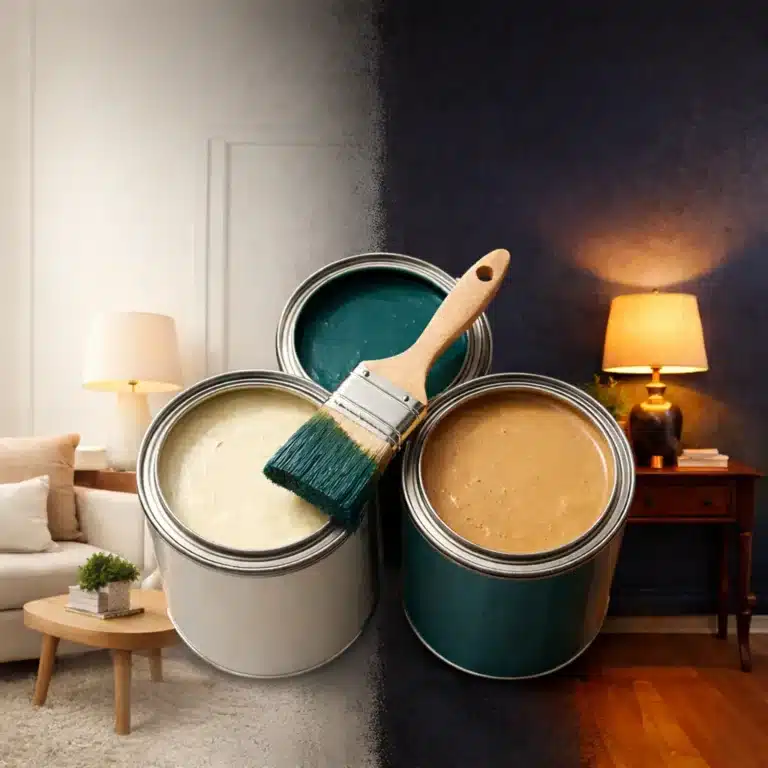
There is no universal sheen chart that fits every paint line. Choose by room conditions, desired appearance and the durability/cleanability of the specific product. Modern washable paints can perform well in lower sheens than older rules of thumb suggest.
- Ceilings: often use lower-sheen products designed to minimize glare.
- Living areas and bedrooms: choose the appearance and washability appropriate to the room.
- Kitchens and bathrooms: use a coating the manufacturer approves for humidity and cleaning demands.
- Trim and doors: use a durable coating formulated for those surfaces; sheen is a design and maintenance choice, not a universal rule.
For a bathroom-specific budget and coating discussion, see Bathroom Painting Cost in 2026.
Room Painting Supplies
Browse room painting supplies on Amazon
As an Amazon Associate, I earn from qualifying purchases.
Frequently Asked Questions
Do you have to wash walls before painting?
Clean surfaces that have dust, grease, residue or other contamination that could interfere with paint adhesion. The cleaning method should suit the wall and the coating manufacturer’s preparation instructions.
Do I need primer before painting a room?
Not always. Primer is most useful for bare or porous surfaces, repairs, stains, difficult substrates and coating systems that require it. A sound previously painted wall may not need a separate full primer coat.
How long should paint dry before a second coat?
Use the recoat time for the specific product, not a universal number. Drying and recoating depend on the paint, temperature, humidity, airflow and film thickness.
How much paint do I need for one room?
Measure the paintable wall and ceiling area, check the product’s coverage, and account for the planned number of coats. The Paint Calculator is the fastest place to start.
Safety Source
Bottom line: a good room-painting result comes from sequence, surface prep and following the coating instructions. Measure first, repair what needs repair, keep a wet working edge, and let the product tell you when it is ready for the next coat.