How to Prep Walls for Painting: 7 Steps for a Smooth Finish
Quick answer: Prep walls for painting in this order: remove loose paint, repair holes and cracks, clean off dust and grease, sand rough or glossy areas where needed, remove sanding dust, prime bare or problem surfaces, then tape and protect the room. Let repairs, washed walls, and primer dry according to their product directions before applying paint.
Not every wall needs full-surface sanding or primer. Sherwin-Williams and Benjamin Moore both emphasize inspecting the existing surface and preparing only what the wall condition requires. Clean, sound, dry walls with a compatible existing finish may need far less prep than patched drywall, glossy paint, stains, peeling paint, or greasy kitchen walls.
Lead-paint safety: If your home was built before 1978, do not treat old-paint sanding like ordinary dust control. EPA warns that sanding, scraping, cutting, and other work that disturbs lead-based paint can create hazardous lead dust. Check the lead risk and follow lead-safe practices before disturbing old coatings.
First, use our free professional paint calculator to figure out how much paint you need for your walls. Don’t forget the primer!
| Key Takeaways |
|---|
| Prep transforms results. Skipping needed repairs or cleaning can cause visible defects or adhesion problems; sand only where the surface condition or coating instructions call for it. |
| Tools matter. Quality spackle, fine-grit sandpaper, and the right primer cut down rework. |
| Step sequence is vital. Clear → Repair → Sand → Clean → Prime → Tape → Check. |
| Timing wins. Let each repair and cleaning pass dry fully before moving on. |
| Test small areas. Verify paint type (latex vs oil) and primer compatibility to avoid surprise peeling. |

Why Proper Wall Prep Matters for Flawless Results
Before I grabbed my roller, I learned a valuable lesson. New paint only looks as good as the surface beneath it. Skipping wall prep led to bubbles where dust got trapped, and streaks from grease that refused to let go. Investing a few hours in learning how to prep walls for painting is beneficial. It means covering with fewer coats. It avoids costly touch‑ups later. It also results in walls that stay pristine for years.
Check out our painting resources page for more project pricing guides, how-to articles, DIY FAQs, and free paint calculator tools.
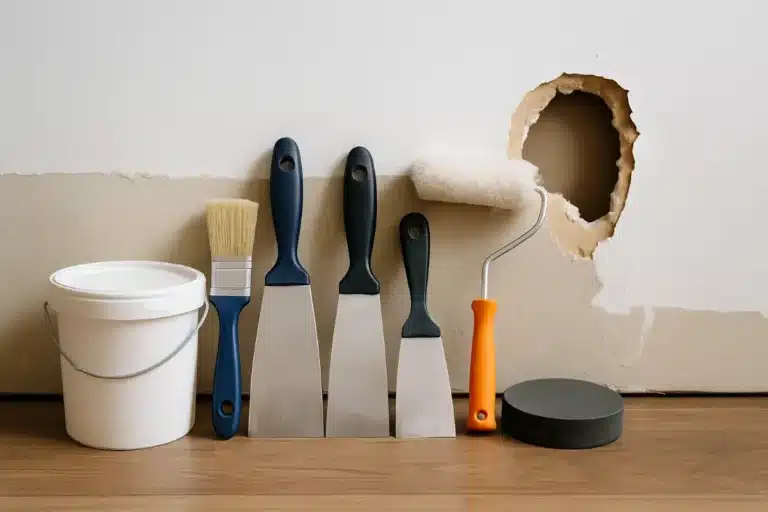
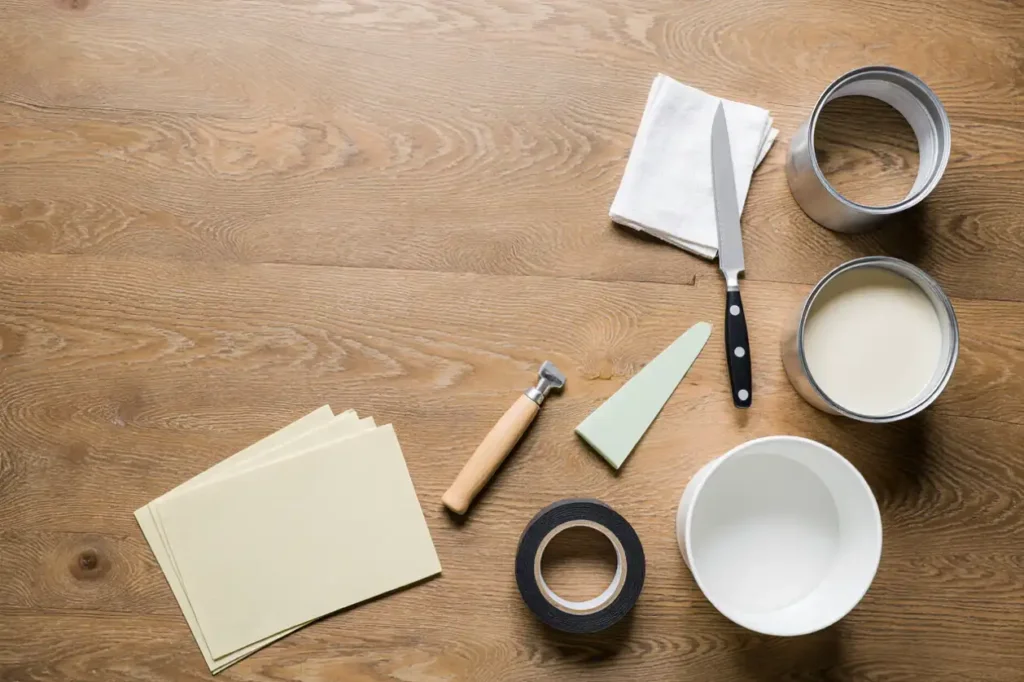
Gathering Essential Tools to Prep Walls for Painting
Nothing stalls momentum like realizing you’re missing the right supplies halfway through. Here’s what I always keep within arm’s reach:
- Spackle or joint compound – For everything from pinholes to damage left by wall anchors.
- Putty knife (2–4 inches) – A smooth blade makes feathering edges effortless.
- Fine‑grit sandpaper (220 grit) – Perfect for light scuffs and smoothing repair spots.
- Sanding sponge or pole sander – Hands‑free sanding for ceilings or large walls.
- Mild detergent or a cleaner approved for the surface – Warm water with mild soap is enough for many walls. For greasy or heavily soiled areas, use a suitable cleaner and follow its label directions, then rinse away residue before painting.
- Buckets, sponges, rags – Have separate buckets for clean rinse water.
- Protective gear – Gloves and eye protection for ordinary prep. Before sanding or scraping old paint in a pre-1978 home, check the lead risk and follow EPA lead-safe work practices rather than relying on a basic dust mask.
- Painter’s tape – Look for tape labeled “delicate surface” to avoid peeling fresh primer.
- Drop cloths or canvas tarps – Canvas stays put; plastic slips.
- Primer – Necessary for new drywall, patched areas, and drastic color changes.
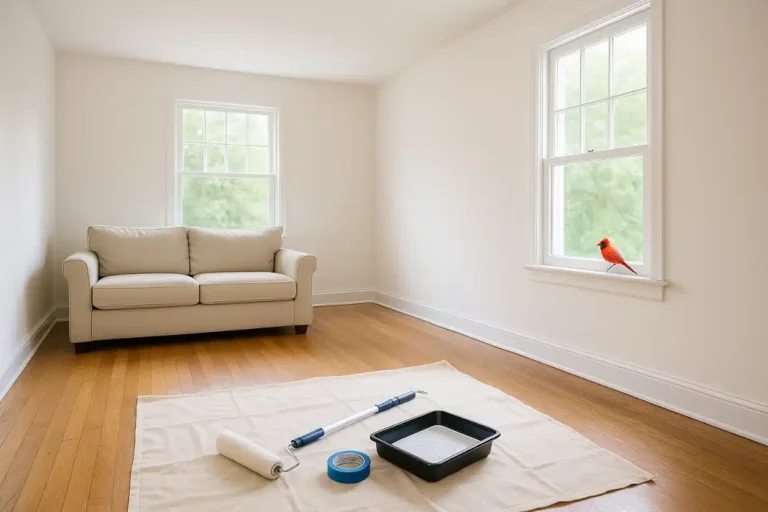
Clearing and Protecting Your Space
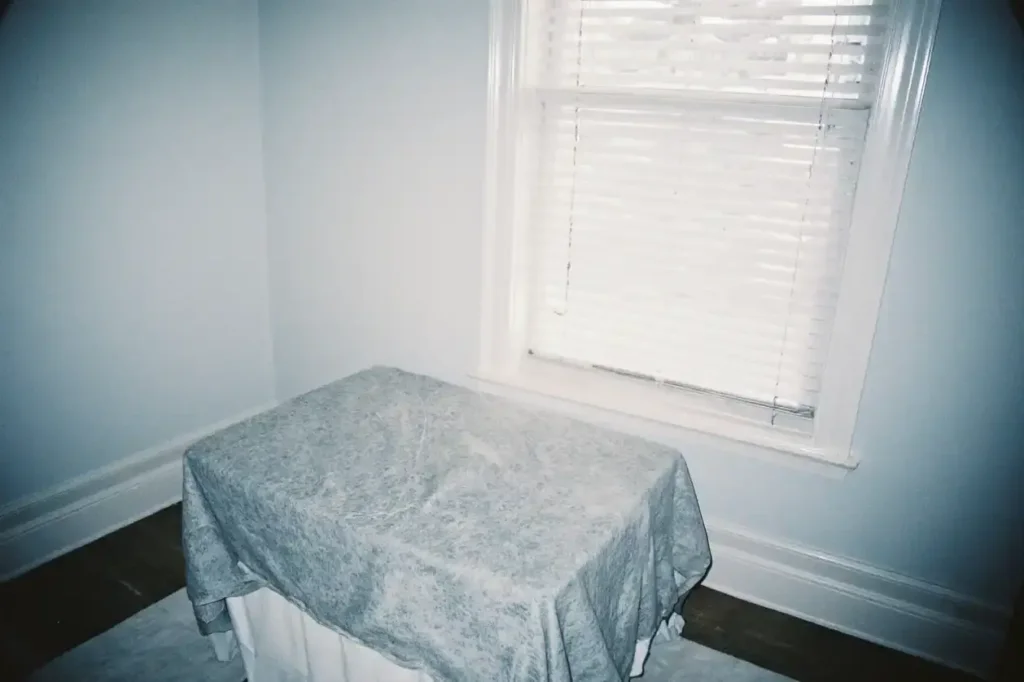
Almost every prep mistake starts with neglecting this stage. I learned that moving furniture out or to the room’s center and covering it shrinks rework time:
- Remove everything from walls. Take down photos, shelves, and switch plates.
- Screw covers and screws together. Tape them to the back of each plate so you won’t lose hardware.
- Lay drop cloths generously. I choose canvas tarps—less slipping and they soak up drips.
- Tape edges before dust flies. Mask baseboards, trim, and window edges to keep accidental sanding dust off surfaces you won’t paint.
Spotting and Repairing Damage: How to Prep Walls for Painting Perfectly
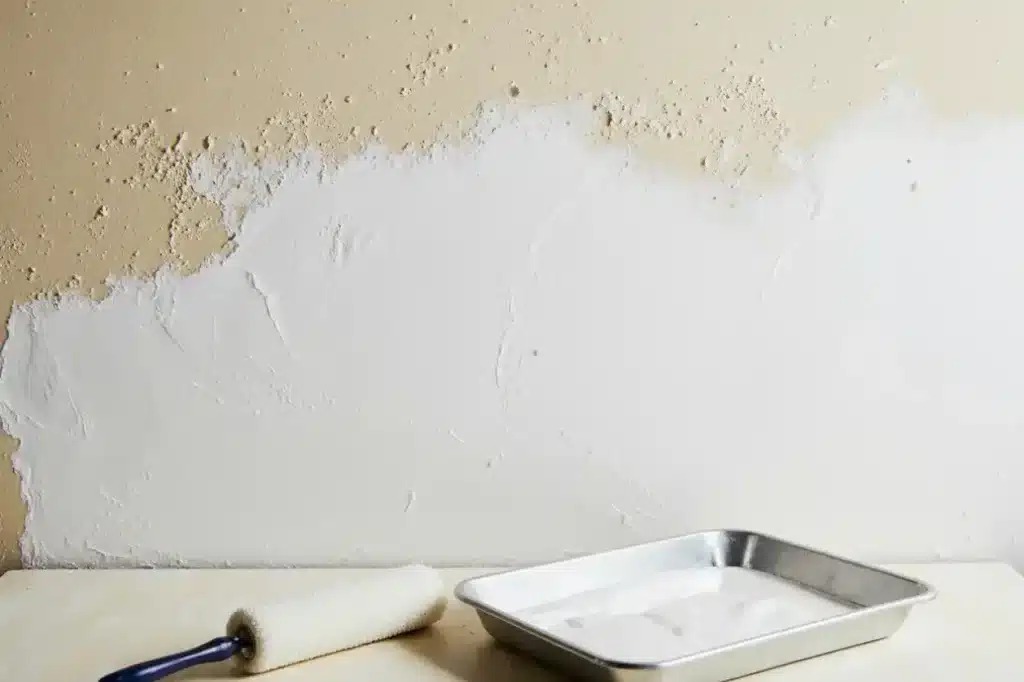
Walking around with a bright flashlight at a low angle helped me catch imperfections I’d otherwise miss. Here’s my go‑to repair workflow:
- Tiny holes (nail to dime‑size):
- Scoop a small dab of spackle with your putty knife.
- Press firmly, then swipe to level.
- Let dry fully (check package times).
- Sand smooth until it blends seamlessly.
- Medium holes (nickel‑size up to a quarter):
- Lay mesh tape over the hole.
- Apply a thin coat of joint compound, feathering 6–8 inches beyond edges.
- Let dry, sand lightly, then repeat if you spot dips.
- Large holes and cracks:
- Fit a drywall patch or cut a scrap piece of drywall to fill the gap.
- Secure with clips or screws.
- Tape seams, then layer on joint compound in thin passes.
- Sand after each dry cycle for a level surface.
Bold highlight: Always aim to leave repairs slightly raised on the wall. This approach lets you sand them flush. You will avoid gouging into surrounding drywall.
Sanding Strategies for Smooth Wall Surfaces
I used to skip full‑wall sanding, thinking only repaired spots needed attention. That shortcut left waves in my paint job. Now I:
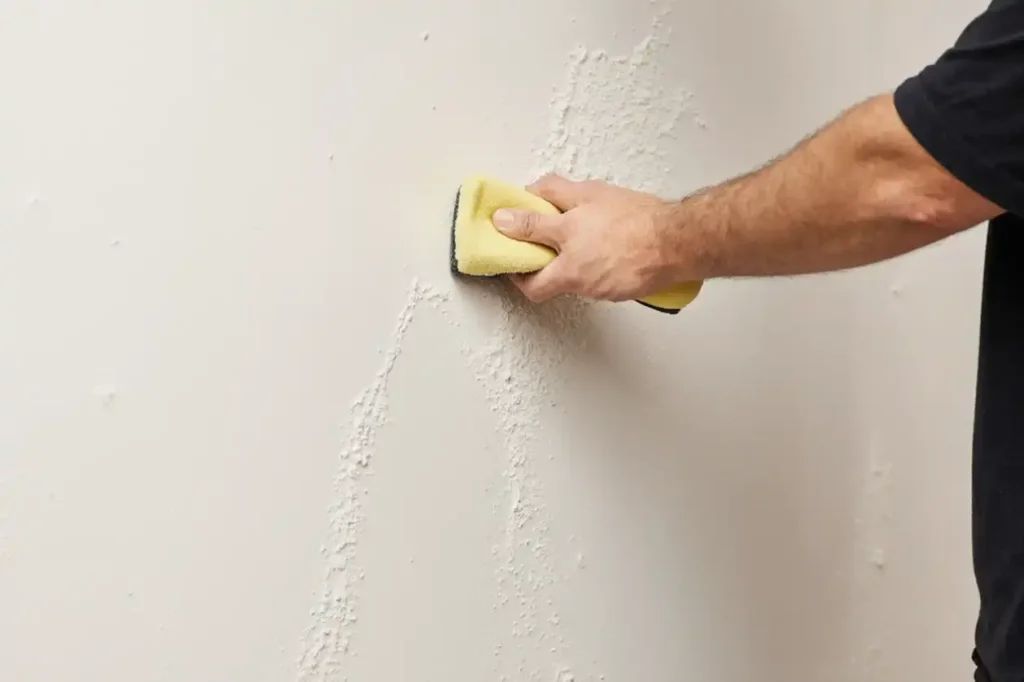
- Sand where the surface needs it. Smooth repaired or rough spots, and dull glossy or high-gloss finishes so the next coating can bond properly. Full-wall sanding is not required for every paint project.
- Work vertical strokes for a uniform texture.
- Wipe the wall with a dry microfiber cloth to pick up dust before moving on.
Why this matters: Paint lays smoother on a lightly toothy surface. It is better than a slick coat from the previous paint job.
Deep Cleaning Walls Before Painting
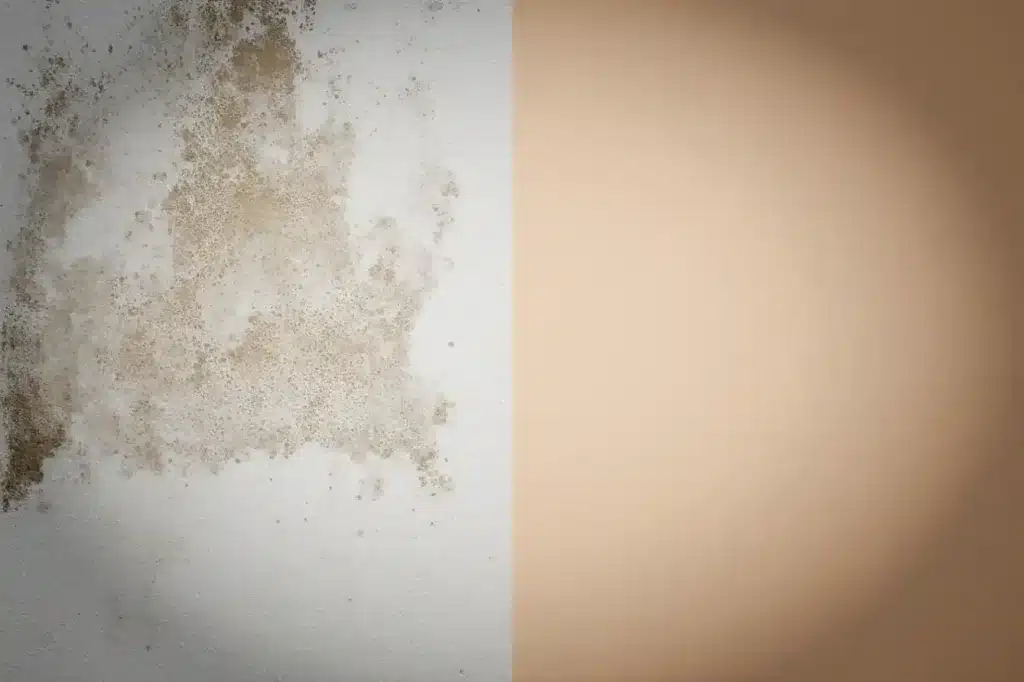
Dust might seem harmless, but it holds moisture and oils that resist new paint. Here’s my dual‑approach method:
- Every wall clean: Mix warm water with mild detergent. Scrub in gentle circular motions, rinse sponge frequently, then rinse walls with plain water.
- Grease and grime zones: Use a TSP solution—1 cup TSP to 1 gallon water. Wear gloves and goggles. Apply from top down, let sit briefly, rinse thoroughly, and dry.
Pro tip: Never let TSP solution air‑dry on the wall. Always rinse to remove residue or primer adhesion suffers.
When and Why to Prime Your Walls
Primer isn’t a “nice‑to‑have”—it’s the secret weapon in my toolkit. I prime when:
- Walls are brand‑new drywall or fresh plaster.
- I’ve patched holes or applied joint compound.
- Moving from dark tones to light colors.
- Stains or water marks threaten to bleed through.
- I’m painting over oil‑based paint.
Skip primer only when painting over a similar flat finish with a high‑quality paint‑and‑primer‑in‑one and the wall is spotless.
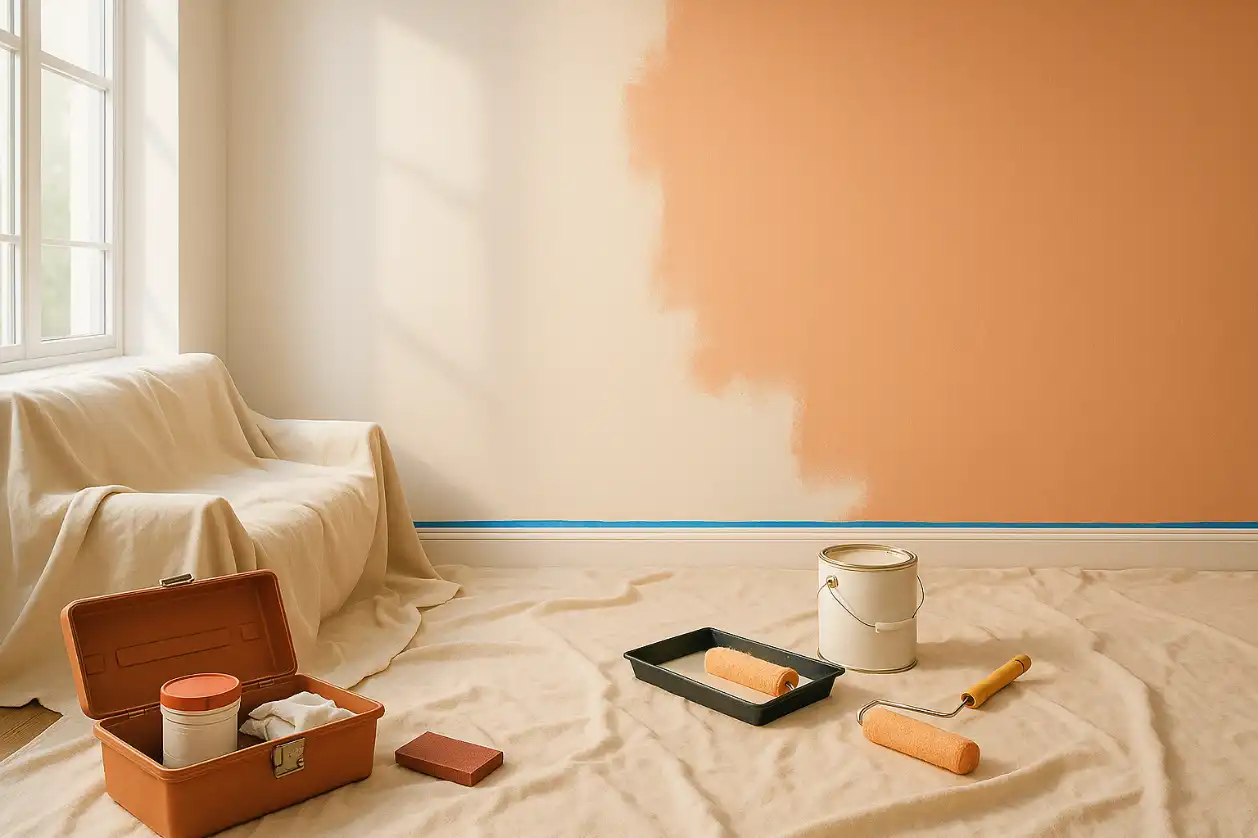
Taping and Edging Tips for Crisp Lines
My edges still look jazz‑hand sharp after learning these simple tactics:
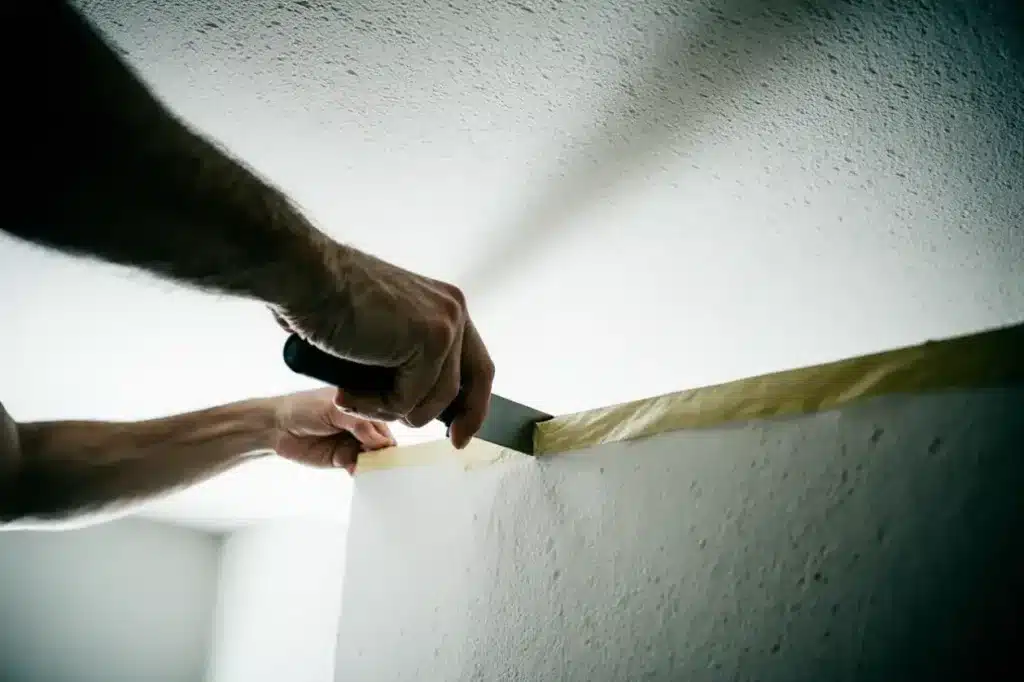
- Apply tape in short lengths (6–8 inches). Makes it easier to press down straight.
- Use a putty knife to seal tape edges. Zero paint seepage.
- Wait 30–60 minutes after taping before painting. The adhesive sets for perfect release.
- Remove tape when paint is “tacky” not wet nor bone dry. Prevents peeling fresh paint.

Final Checks Before Rolling Paint Onto Prepped Walls
A quick walk‑through saved me from repainting entire walls:
- Run your hand over sealed trim and repaired spots. Feel for bumps or rough edges.
- Spot‑check lighting. Use a handheld work light to reveal hidden specks.
- Ensure walls are fully dry. Touch test: no cold or damp spots.
- Clear away all cloths and vacuum dust. A spotless floor and trim means no dust falls on wet paint.

FAQs About How to Prep Walls for Painting
Q: How long should I wait after repairing and sanding before painting?
A: Give spackle or joint compound at least 24 hours to cure fully. Dry time varies by product and humidity—refer to the manufacturer’s instructions and feel the surface before sanding.
Q: Can I use a damp cloth instead of TSP?
A: For light dirt, yes. But for greasy kitchens or nicotine‑stained walls, TSP or a degreaser ensures paint bonds – just rinse completely.
Q: What grit sandpaper is best for prepping walls?
A: Fine‑grit (180–220) is ideal. Coarser grits leave visible scratches and require extra skim coats to fill.
Q: Is painter’s tape essential?
A: If you want sharp, professional edges, yes. Freehand cutting in often results in wobbly lines and paint bleed.
Q: Do I really need primer if I’m reusing the same paint color?
A: If the wall is in excellent condition, no. But patched areas and minor stains call for spot priming to avoid visible patches once painted.
There you go! I’ve shared every step I swear by. I use them when I’m figuring out how to prep walls for painting. This is done before I ever touch a roller. Taking time to repair, sand, clean, and prime changes a headache‑ridden chore into a quick, satisfying project. It shows off my best work and lasts for years to come. How to prep walls for painting is the only secret between a half‑hearted cover‑up and a show‑stopping, envy‑inducing finish.