How to Prep Walls for Wallpaper: Clean, Repair, Prime & Check
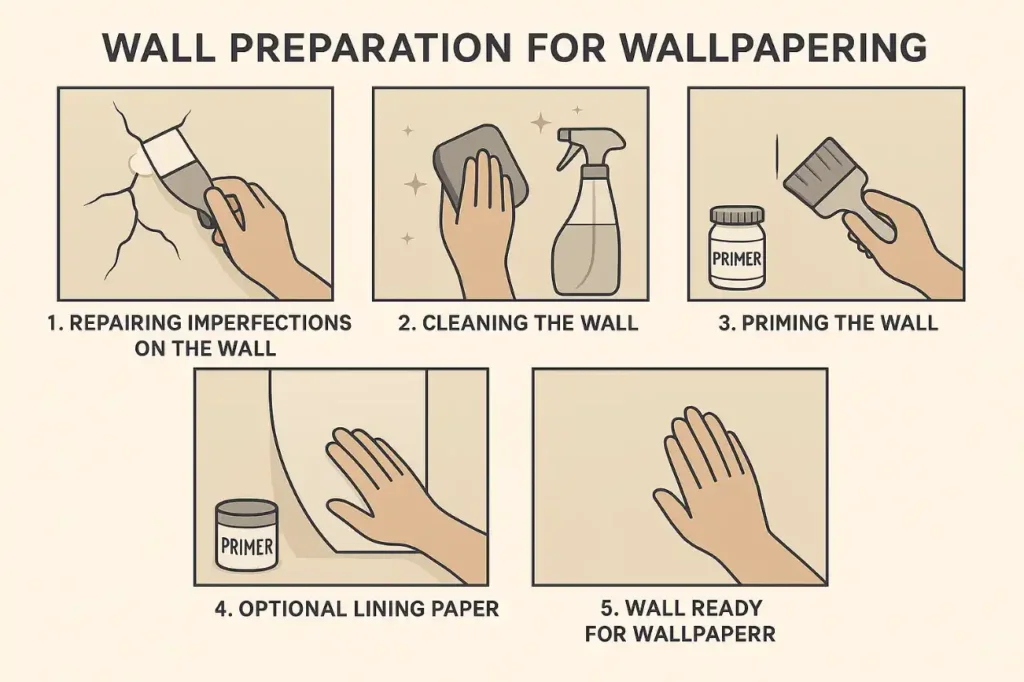
Quick answer: Before wallpaper goes up, the wall should be clean, dry, smooth, structurally sound, and compatible with the wallpaper and adhesive system you plan to use. Repair holes and loose surfaces, remove old adhesive residue, correct moisture problems, and use the primer or wall-prep method recommended for the wall condition and wallpaper product.
There is no one prep recipe for every wall. New drywall, sound painted drywall, glossy paint, old paste residue, plaster, textured walls, and peel-and-stick wallpaper can all need different preparation.
| Wall Condition | What to Check First | Typical Next Step |
|---|---|---|
| New drywall | Dust, joint compound, sanding marks, dryness | Repair, clean, then use a wallcovering primer approved for bare drywall |
| Sound painted wall | Paint adhesion, sheen, grease, contamination | Clean and use the primer/prep method recommended for the wallpaper system |
| Glossy or sealed paint | Surface adhesion | Use an adhesion-promoting prep method or primer specified for the surface |
| Previously wallpapered wall | Old paper, backing, paste residue, damaged drywall face | Remove unstable material and residue, repair, then prime appropriately |
| Textured wall | Profile depth and wallpaper thickness | Flatten/skim or use a compatible liner when the wallcovering system allows it |
| Wall with moisture or mold | Leak, condensation, active growth | Fix moisture and clean/remediate before wallpapering |
Before ordering wallpaper, use the Wallpaper Calculator to estimate rolls while accounting for wall dimensions and pattern repeat. If the material or room is complicated, use DIY or Hire a Wallpaper Installer? before placing the order.
1. Inspect the Wall Before You Sand or Scrape
Start by checking the wall rather than automatically reaching for sandpaper.
- Look for loose or peeling paint.
- Check for soft drywall, water stains, active leaks, or recurring condensation.
- Feel for high spots, ridges, old adhesive, and texture.
- Check whether existing paint is firmly bonded.
- Identify glossy, sealed, or unusually slick surfaces.
- Look for mold or mildew before covering anything.
The Wallcoverings Association recommends that surfaces be clean, dry, structurally sound, and free of grease, mildew, and other contamination before installation. ROMAN gives similar surface-prep guidance for its wallcovering primers. Wallcoverings Association surface-prep guidance · ROMAN PRO-977 instructions
2. Pre-1978 Painted Walls Need a Lead-Safe Plan
If the home was built before 1978 and you may disturb existing paint by sanding, scraping, drilling, or cutting, treat lead dust as a serious possibility unless testing has shown the affected surfaces are lead-free.
EPA recommends hiring a Lead-Safe Certified contractor for renovation, repair, and painting work in pre-1978 homes. Homeowners who choose to perform work themselves should use lead-safe practices that contain the work area, minimize dust, use HEPA cleanup, and control waste. EPA’s lead-safe renovation guidance was updated in March 2026. EPA Lead-Safe Renovations for DIYers · EPA Steps to Lead-Safe Renovation
Do not dry-sand an unknown pre-1978 painted surface simply because a wallpaper guide says to “scuff the wall.”
3. Fix Moisture and Mold Before Wallpapering
Wallpaper should not be used to cover an active moisture problem.
EPA says the key to mold control is moisture control: fix the water problem, clean up the mold, and dry the affected materials. EPA also advises against painting or caulking over moldy surfaces. The same principle applies before wallpaper installation. EPA mold and moisture guidance
If mold is extensive, hidden, tied to major water damage, or likely to be disturbed behind existing wallpaper, consider professional help. EPA notes that wallpaper removal can release spores when hidden mold is present behind the covering.
4. Remove Loose Material and Old Wallpaper Residue
Old wallpaper, backing, paste residue, loose paint, and weak drywall paper can interfere with the new installation.
The Wallcoverings Association recommends removing old adhesive residue, rinsing the wall, allowing it to dry, repairing damage, and applying an appropriate wallpaper primer before new wallcovering goes up.
Do not assume you can safely paper over existing wallpaper. The condition of the old material, fire-code considerations, texture, seams, and the new wallcovering system all matter. ROMAN warns that wallpaper-over-wallpaper installations may not meet applicable Class A fire-rating requirements in some situations.
5. Repair Holes, Dings, Seams, and Surface Damage
Wallpaper can hide color, but it does not reliably hide surface profile.
Fill holes and damaged areas with a repair material suited to the wall. Let repairs dry according to the product instructions, then smooth them enough that the wallpaper will not telegraph ridges and edges.
For badly torn drywall paper, skim-coated areas, or other porous repair zones, use a sealer/primer intended for that condition rather than treating every patch like ordinary painted drywall. ROMAN, for example, lists its PRO-999 Rx-35 for porous surfaces such as torn drywall, joint compound, skim coats, and residual paste. ROMAN wallcovering primer guide
6. Clean the Wall for the Surface and Product You Have
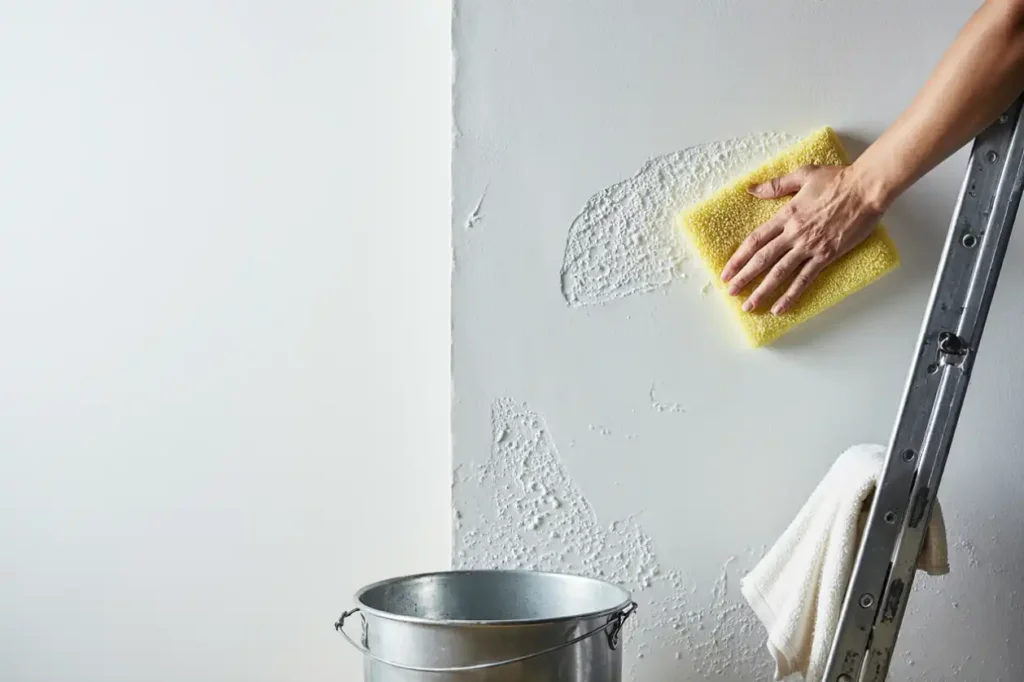
Dust, grease, old paste, and other residue can interfere with primer or adhesive.
Use the cleaning method recommended for the wall condition and products involved. A mild cleaning approach may be appropriate for ordinary dust or light soil, while kitchen grease, old wallpaper adhesive, or specialty coatings may need different treatment.
Do not rely on one universal recipe such as “dish soap for every wall” or “half-strength TSP substitute for every project.” Check the primer, wallpaper, and adhesive instructions and make sure the wall is dry before moving forward.
7. Choose Wallpaper Primer by Wall Condition
Wallpaper primer can improve installation, create a more uniform surface, help with positioning, and make future removal easier. The correct primer depends on the substrate.
ROMAN’s current PRO-977 guidance lists new bare drywall and sound painted walls as recommended surfaces. Its PRO-935 R-35 is intended for difficult non-porous surfaces, while PRO-999 Rx-35 is designed for porous and damaged surfaces. ROMAN wallpaper primer FAQ
That is a better framework than “always use oil primer,” “always use bonding primer,” or “always use sizing.”
New Bare Drywall
Make sure joints and patches are dry and smooth, remove sanding dust, then use a wallcovering primer approved for bare drywall. ROMAN PRO-977 is one manufacturer example. Its current product instructions list a minimum dry time of three hours and note that low temperature, high humidity, and poor ventilation slow drying. Follow the instructions for the primer you actually purchase rather than using a fixed 24-hour rule. See current PRO-977 instructions
Sound Painted Walls
Check that the existing paint is firmly bonded and clean. Glossy, sealed, or difficult surfaces may need a different prep method from ordinary sound paint. Test compatibility in a small area when the primer manufacturer recommends it.
Porous Repairs or Torn Drywall
Use a sealer/primer designed for porous surfaces when the repair material or exposed drywall face calls for it.
8. Peel-and-Stick Wallpaper Still Needs Product-Specific Prep
“Peel and stick” does not mean “sticks to every wall.” Removable wallpaper products can have requirements for paint cure time, wall texture, sheen, cleanliness, and compatible coatings.
Read the installation instructions for the exact wallpaper before changing the wall specifically for that product. A surface that works well for traditional pasted wallpaper may not behave the same way with a pressure-sensitive removable adhesive.
For the installation process, see How to Install Peel-and-Stick Wallpaper.
9. Textured Walls and Lining Paper
Texture can show through thin wallpaper and make seams harder to manage. The right fix depends on the depth of the texture, the wallcovering, and the installation system.
Options can include smoothing or skim-coating the wall, using a compatible wall liner, or choosing a wallcovering that tolerates more surface variation.
Do not assume lining paper is mandatory for peel-and-stick wallpaper or that it should always be hung horizontally. Follow the liner and wallpaper manufacturer’s installation instructions, including any primer or adhesive requirements.
10. Test the System Before Covering the Whole Room
When the wall condition is questionable, the primer is unfamiliar, or the wallpaper is expensive, a small test can save a much larger failure.
ROMAN recommends testing primer compatibility on a small inconspicuous area and checking it after 24 hours before proceeding. The Wallcoverings Association also recommends a test installation when there are questions about the surface. ROMAN wall-prep guidance
Final Wallpaper Prep Checklist
- The moisture source has been fixed.
- No active mold is being covered.
- Lead-safe precautions have been addressed where applicable.
- Loose paint, unstable old paper, and residue have been dealt with.
- Holes, ridges, and damaged drywall are repaired.
- The wall is clean and dry.
- The primer matches the wall condition.
- The primer has dried according to its instructions.
- The wallpaper and adhesive instructions have been reviewed.
- A test area has been checked when compatibility is uncertain.
- The first plumb/reference line is planned.
- Roll quantity and pattern repeat have been calculated.
Wallpaper Prep Tools Worth Having
You do not need a giant specialty kit. The useful categories are the ones that support accurate repair, layout, trimming, and cleanup.
Wallpaper smoothing tools · Sharp utility knives and blades · Laser levels · Seam rollers
As an Amazon Associate, Cardinal Decor earns from qualifying purchases. Confirm that any smoothing tool, roller, primer, adhesive, or cleaning product is compatible with your wallpaper manufacturer’s instructions.
What to Do After Wall Prep
- Calculate wallpaper rolls and matched drops
- Compare wallpaper styles by room
- Install peel-and-stick wallpaper
- Compare wallpaper vs. paint
- Visit Wallpaper Resources
Wallpaper Wall Prep FAQs
Can I wallpaper directly over painted walls?
Sometimes. The paint needs to be sound, clean, and compatible with the wallpaper system. Glossy or difficult coatings may need extra preparation or a different primer. Follow the wallpaper, adhesive, and primer instructions.
Do all walls need wallpaper primer?
Primer is widely recommended because it creates a more uniform installation surface and can improve future removal, but the correct product depends on the substrate. Use the primer guidance for the wall condition and wallpaper system rather than one universal primer rule.
How long should wallpaper primer dry?
Use the stated dry time for the primer you apply. Temperature, humidity, ventilation, and substrate porosity can change drying. Do not substitute a blanket “overnight” or “24-hour” rule for the product instructions.
Can I wallpaper over texture?
It depends on the texture depth and wallcovering. Thin wallpaper can reveal texture. Some projects need smoothing or a compatible liner before installation.
Can I wallpaper over old wallpaper?
Removing the old wallcovering and unstable backing is usually the cleaner path. If an installation system allows wallpaper over existing material, verify adhesion, surface condition, fire/code considerations, primer, and adhesive requirements first.
What should I do if there is mold behind wallpaper?
Fix the moisture source and clean or remediate the mold before covering the wall again. EPA advises against simply painting or caulking over mold, and hidden mold behind wallpaper may warrant professional help depending on the extent and conditions.