Tile Layout Patterns: 12 Floor & Wall Designs + Planner
Quick answer: The most useful tile layout patterns are straight stack, running bond, vertical stack, herringbone, diagonal, chevron, hexagon, mosaic, basketweave, pinwheel, and modular layouts. For a first DIY project, straight stack or running bond is usually easiest. Herringbone and diagonal layouts create more cuts and need a more deliberate dry layout. Large-format tile needs an especially flat substrate and careful lippage control.
Pattern changes how a tiled surface reads. A vertical stack can emphasize height, a running bond keeps the field familiar, a diagonal layout adds movement, and a herringbone layout makes the joint pattern part of the design. The right choice also affects cuts, waste, layout time, and installation difficulty. Complex layouts can also raise labor costs, so compare the pattern with our tile installation cost guide before setting the project budget.
Use the planner below to narrow the pattern by surface, tile shape, and skill level. Then calculate tile, boxes, grout, waste, and material cost for your project.
Plan the whole tile project: Use the Floor Tile Buying Guide for material and room-use decisions, then compare tile directions and project tools in the Floor Tile Buying & Styling edit.
Tile Layout Planner
Choose the surface, tile shape, and your comfort level. This is a design-planning aid, not an installation specification.
Helpful Tile Layout Tools
Laser levels for tile layout · Tile spacers · Tile leveling systems
Affiliate disclosure: As an Amazon Associate, I earn from qualifying purchases. A leveling system can help control lippage, but it does not replace proper substrate preparation.
Plan your next tile project with our Tile Resources: material comparisons, layout guides and installation planning.
Use the Tile Calculator to estimate tile quantity, boxes, grout and the material costs you enter. Add labor, preparation, delivery and other project charges separately.
Key Takeaways
| Tile Layout Pattern Type | Why It Works |
|---|---|
| Classic Running Bond | Timeless look that hides slight misalignment |
| Vertical and Horizontal Stack | Easy install, makes small spaces feel taller or wider |
| Herringbone | Creates movement and a sense of depth |
| Chevron | Delivers clean, directional flow |
| Mosaic & Modular | Unlimited customization, playful details |
| Fish Scale & Arabesque | Softens sharp lines with organic shapes |
| Hexagon & Octagon | Bold geometry for modern or vintage vibes |
| Straight Lay | Simplest grid, great for mixing colors |
| Basketweave & Pinwheel | Vintage flair packed with visual interest |
| Centered Layout | Balanced look for large spaces |

Common Tile Layout Patterns Every DIYer Should Know
I remember standing in the tile aisle, overwhelmed by shapes and finishes. Turns out, tile layout patterns fall into a few key groups. Once you spot these categories, shopping and planning feel straightforward.
- Linear Patterns: Think subway and straight lay. Simple, clean lines and low risk.
- Geometric Patterns: Herringbone, chevron, diamond—adds movement and drama.
- Mosaic & Modular: Mix tile sizes or colors for custom looks.
- Organic & Curved: Fish scale, arabesque—brings softness to sharp angles.
Each group has its own vibe. I used linear subway tile in my kitchen for a crisp backdrop. Later, I switched to mosaic in the bathroom for a playful touch.

Subway Tile Layout Patterns: Endless Classics
Subway tile layouts ruled the early 1900s when New York’s transit system got its first stations. Today they still feel fresh and never age out.
My favorite part? You can tweak a classic running bond without extra cuts or waste. Here are the top three ways to lay those 3×6 rectangles:
- Running Bond (Brick Pattern)
- Offset by half a tile for that brick effect
- Hides slight misalignments
- Works well as a backsplash or full wall
- Vertical Stack
- Tiles stacked straight up create height
- Ideal for narrow powder rooms or shower niches
- Draws the eye skyward
- Horizontal Stack
- Perfect rows deliver modern minimalism
- Simple install keeps labor costs down
- Pairs nicely with large-format floor tile
When I installed the vertical stack in my half bath, the room felt taller than its 8‑foot ceiling. That alone made the extra grout lines worth it.

Straight Lay vs. Grid Patterns: Simplicity at Its Best
If you’re new to tile, straight lay is your BFF. Tiles line up perfectly in rows and columns. No angled cuts, no fuss.
- Pros
- Fast install
- Low waste
- Great for mix‑and‑match color schemes
- Cons
- Can feel plain if overused
- May need accent tiles to avoid monotony
You can break up a straight lay grid with a row of accent tiles or a border band. I once framed my kitchen with a contrasting tile row for instant interest.

Herringbone Tile Layout Patterns for Visual Impact
Herringbone is that iconic zigzag you see in hardwood floors and textiles. In tile, it creates a sense of flow and depth.
I laid herringbone in my laundry room last winter. It made the tiny L‑shaped space feel twice as long—no joke. Here’s how to nail it:
- Tile Size: Rectangles work best—2×6, 3×12, even 4×16.
- Angle: 45 degrees is classic; 90 degrees feels more graphic.
- Prep: Mark a center line on floor or wall for perfect symmetry.
- Grout joints: Keep them consistent and follow the tile manufacturer’s minimum joint guidance. Very tight joints can make dimensional variation and lippage more obvious.
Choose a grout that matches your tile color. High contrast grout highlights the zigzag but can look busy in small rooms.

Chevron and Diamond Patterns: Bold Choices
Chevron and diamond layouts pack a punch with clean geometry. They share a zigzag vibe yet differ in cuts.
- Chevron
- Tiles cut at angles meet in a continuous V‑shape
- Feels more streamlined than herringbone
- Great for accent walls or narrow backsplashes
- Diamond
- Square tiles rotated 45 degrees
- Offers a diamond grid that makes floors appear larger
- Pair with a border or bullnose trim for a polished finish
I used a diamond floor pattern in a sunroom last summer. It gave a subtle retro charm without clashing with my wicker furniture.

Mosaic and Modular Tile Layout Patterns: Next-Level Customization
Mosaic tile patterns let you go wild with color and shape. Modular patterns combine multiple sizes for a custom look.
- Mosaic
- Sheets of small tiles in 1×1, 2×2, or penny rounds
- Perfect for shower floors or detailed accents
- Pricier per square foot but low waste
- Modular
- Mix 12×12, 6×6, and 6×12 squares and rectangles
- Create ratio‑based layouts for balanced visuals
- Requires careful planning to avoid awkward cuts
My buddy used modular white and gray tiles in his entryway. It read like custom flooring in a high‑end boutique.

Organic and Curved Tile Patterns: Soft Touches
Not all tile has to shout geometry. Curved shapes add a gentle vibe that pairs well with natural materials.
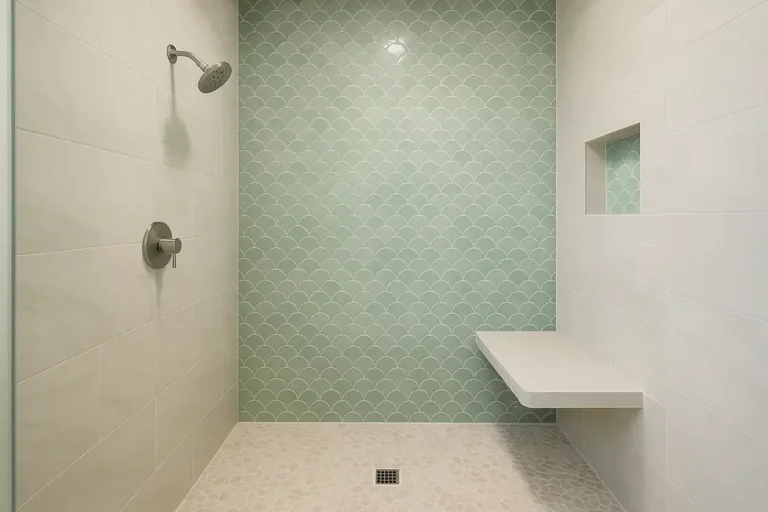
- Fish Scale
- Overlapping curved shapes mimic ocean scales
- Available as porcelain or ceramic in matte and glossy finishes
- Ideal for shower walls or kitchen islands
- Arabesque
- Elongated, teardrop‑like shapes from Middle Eastern design
- Lays out in a flowing pattern that softens sharp edges
- Looks stunning in monochrome or with subtle color shifts
When I tiled a friend’s spa shower with fish scale, the result felt like an upscale resort. The organic layout reflected light in new ways.

Choosing the Right Tile Layout Pattern for Your Space
Picking a pattern is part gut instinct, part math. Ask yourself:
- Room Size
- Small spaces do best with linear or simple grid patterns
- Large areas handle bold geometry without feeling busy
- Tile Size
- Big tiles make rooms look bigger but limit pattern options
- Small tiles lend themselves to mosaic and organic shapes
- Style Goal
- Minimal modern? Stick with straight lay or horizontal stack
- Traditional or vintage? Try basketweave or octagon and dot
- Budget & Waste
- Specialty cuts raise cost and waste
- Standard rectangles keep things affordable
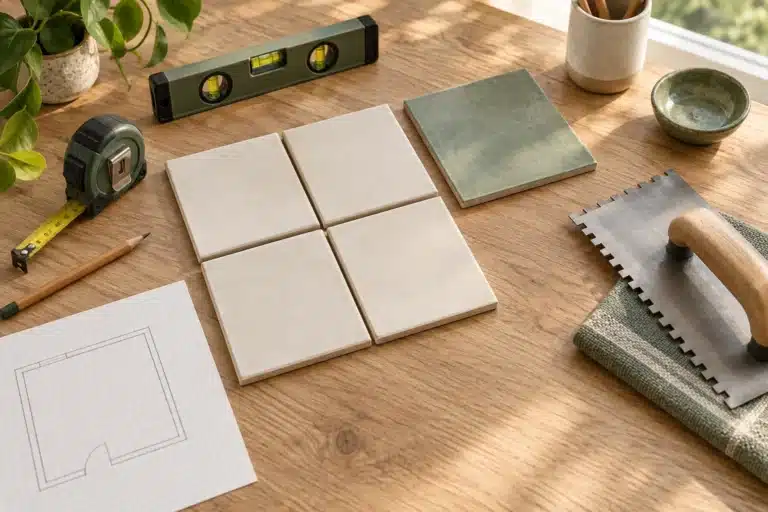
I once sketched layouts on graph paper before ordering tile. Seeing the pattern helped me avoid sticker shock on waste and cuts.

Installation Tips for Perfect Tile Layout Patterns
Even the coolest pattern falls flat without proper installation. These tips keep your project on track:
- Measure Twice: Calculate square footage, then add 10–15% for cuts and breakage.
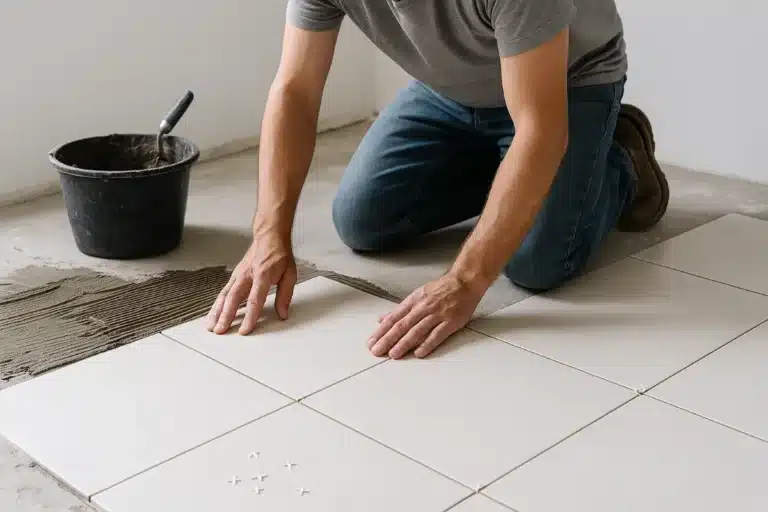
- Dry Layout: Lay out a few rows without adhesive to spot awkward gaps.
- Use Spacers: Keep grout lines consistent—essential for geometric patterns.
- Check substrate flatness: ANSI guidance cited by MAPEI allows up to 1/4 inch variation in 10 feet for tile with all edges shorter than 15 inches, and up to 1/8 inch in 10 feet when at least one tile edge is 15 inches or longer. Correct high and low spots before setting tile.
- Start Centered: Begin at the room’s focal point and work outward.
- Seal & Grout: Choose a grout suited for wet or high‑traffic areas; seal porous tiles.
When I ignored the dry layout step, I ended up with skinny tile slivers at one wall. Lesson learned: patience up front saves headaches later.
Installation source check: September 6, 2026. Flatness and lippage guidance was checked against the current 2026 TCNA Handbook description and MAPEI’s ANSI A108.02 surface-preparation guidance. Wet-floor product selection should follow the manufacturer’s declared use classification.

FAQs About Tile Layout Patterns
Q: Which layout pattern hides dirt best?
A: Dark grout in a running bond or straight lay pattern camouflages dirt and stains. For high‑traffic floors, pick porcelain tile—less porous and easier to clean.
Q: Can I mix tile sizes in one pattern?
A: Yes. Modular layouts let you combine squares and rectangles. Just plan ratios carefully and keep grout lines uniform.
Q: Do complex patterns cost more?
A: Specialty cuts raise labor and material costs by 20–30%. If you love the look but not the price tag, try a simple subway pattern with accent strips.
Q: What grout color should I choose?
A: A grout color matching tile creates a seamless field. Contrast grout highlights the pattern but can look busy in small rooms.
Q: How do I maintain curved tile shapes?
A: Use a flexible grout for fish scale and arabesque tiles. Seal them annually if they’re natural stone or matte finishes.
Now you’ve seen this lineup of tile layout patterns. Pick one that speaks to your style. Get started on your next project.